Installation Quaife ATB Limited Slip Differential QDF6M
Here’s described the installation of a Quaife ATB Limited Slip Differential QDF6M. For an even better result in execution and end result, it was especially paid attention to some details.
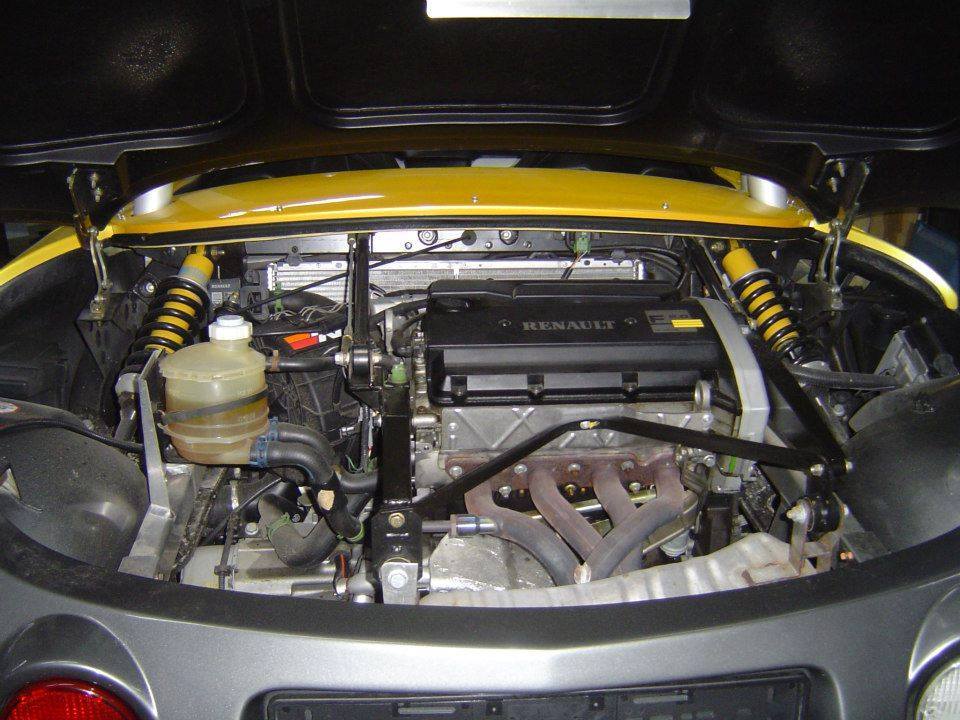
Start.
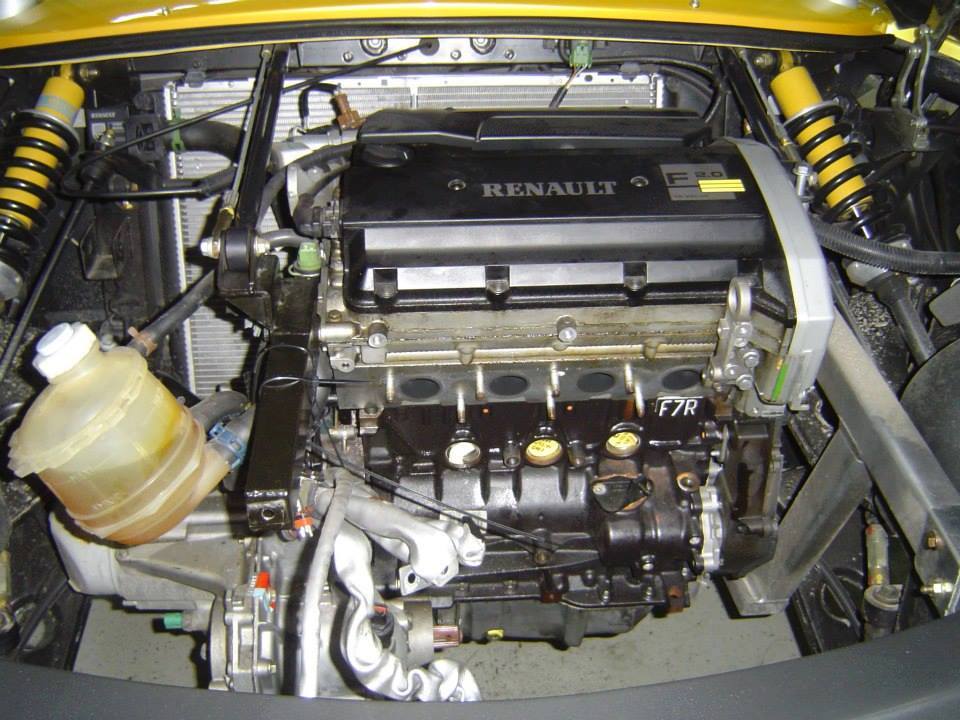
First, the axle shafts and the starter were removed.
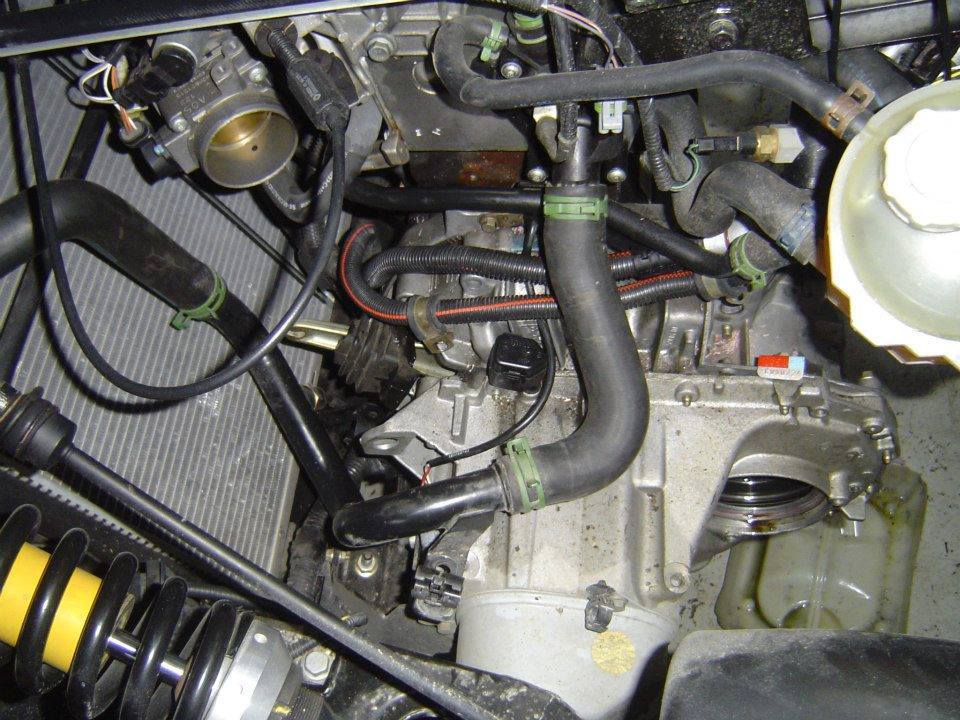
Then the electrical wires, the gearbox holder, the coupling cable and the connecting screws of engine / gearbox.
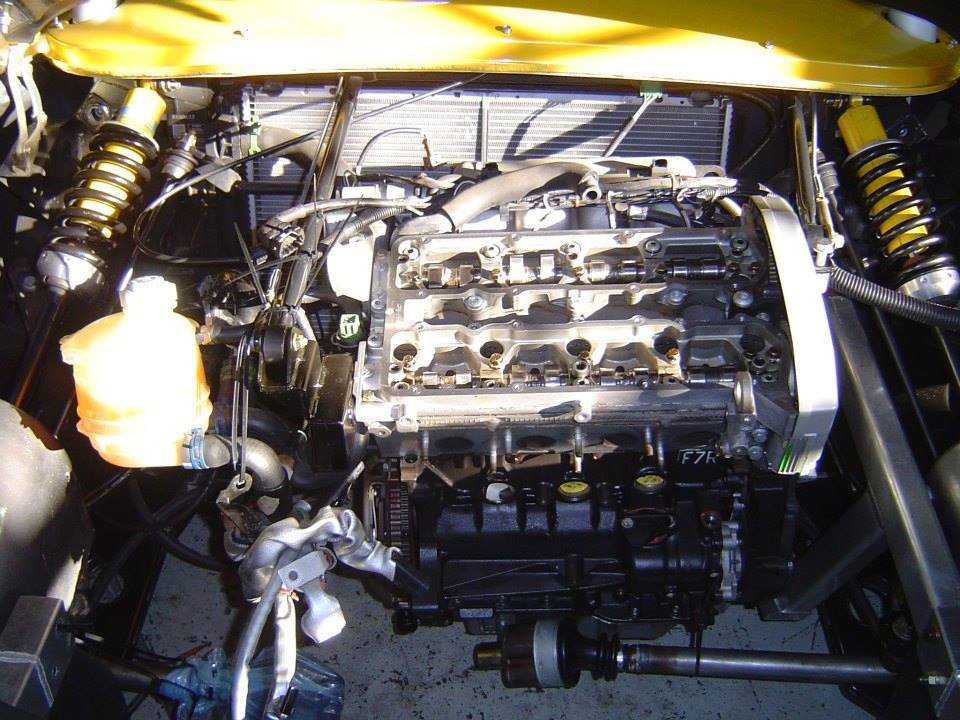
The gearbox could then be removed.
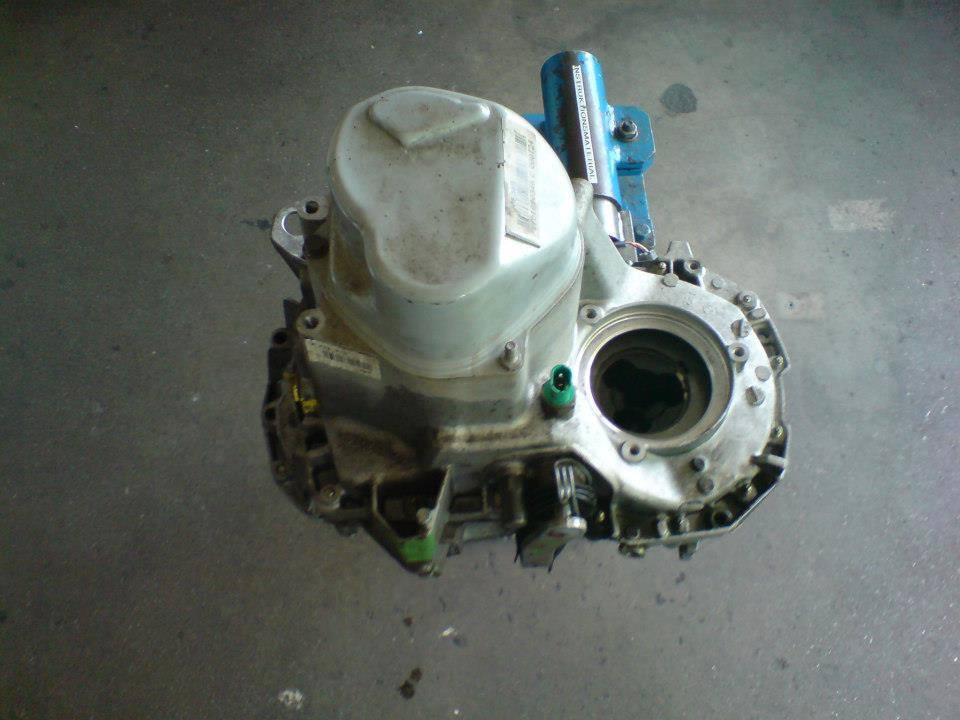
The removed gearbox was attached to the gearbox holder.
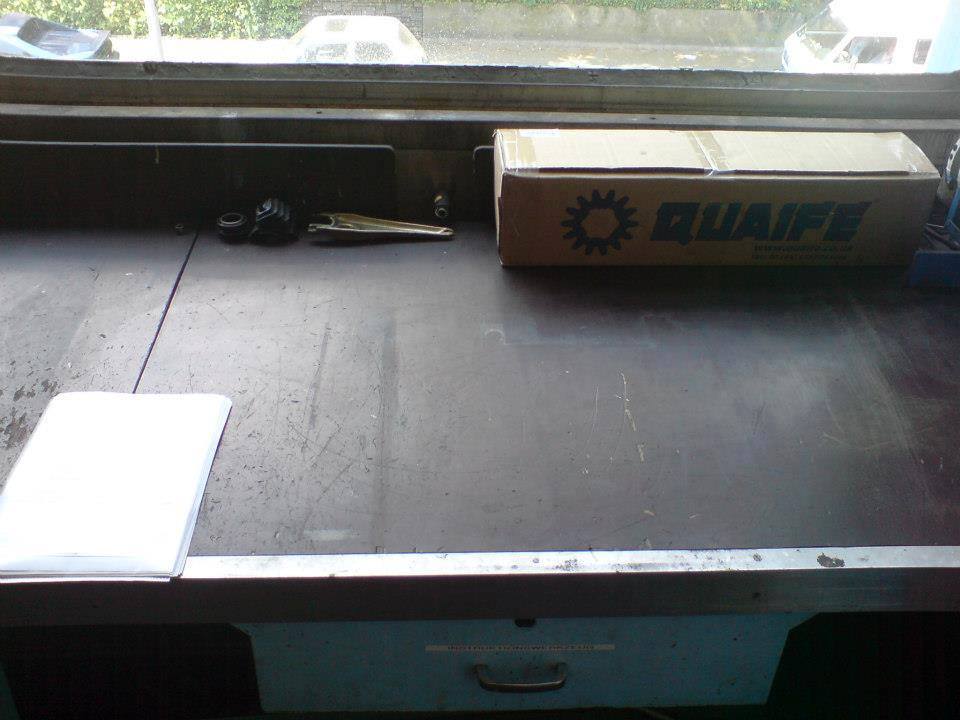
The removed parts were cleaned and placed aside. The new Quaife Limited Slip Differential is already ready.
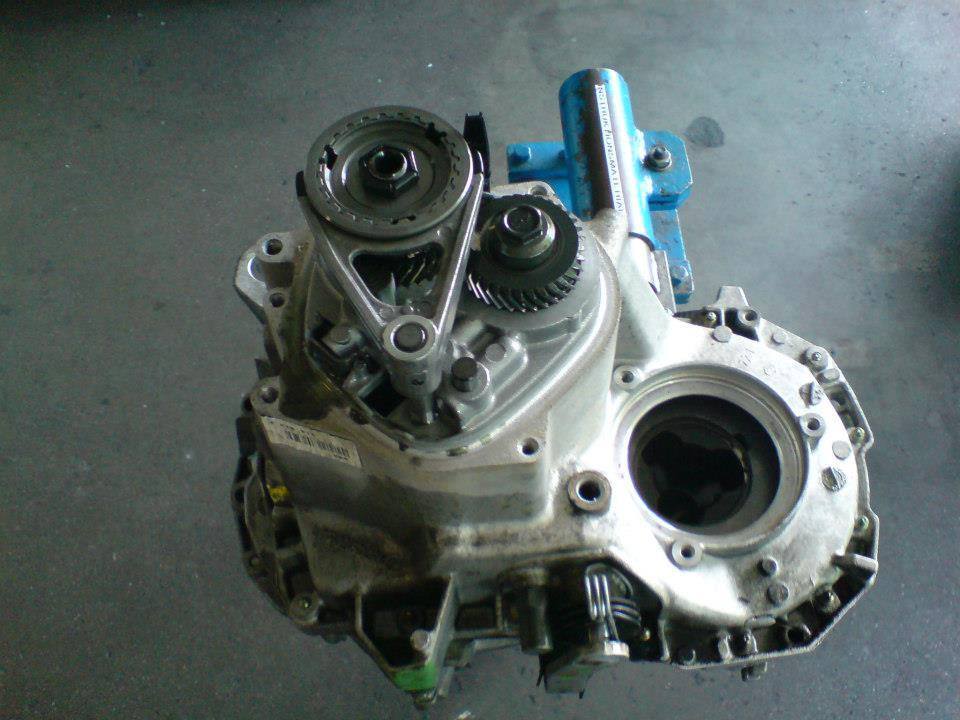
The cover of the 5th gear has been removed.
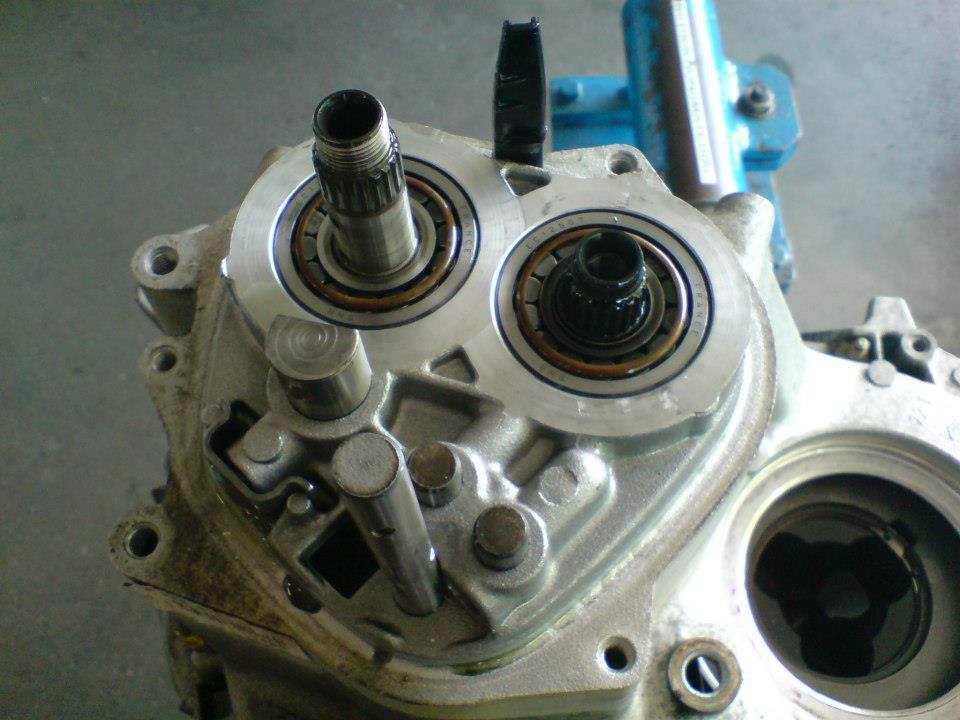
The 5th gear pair and the associated shift fork were removed.
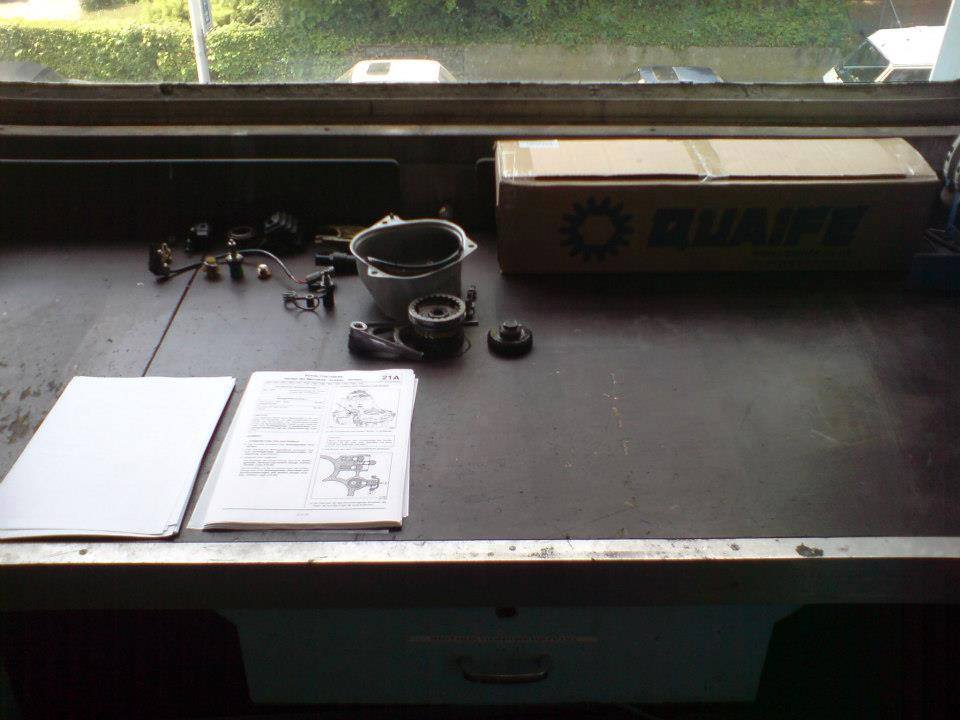
The table fills with parts.
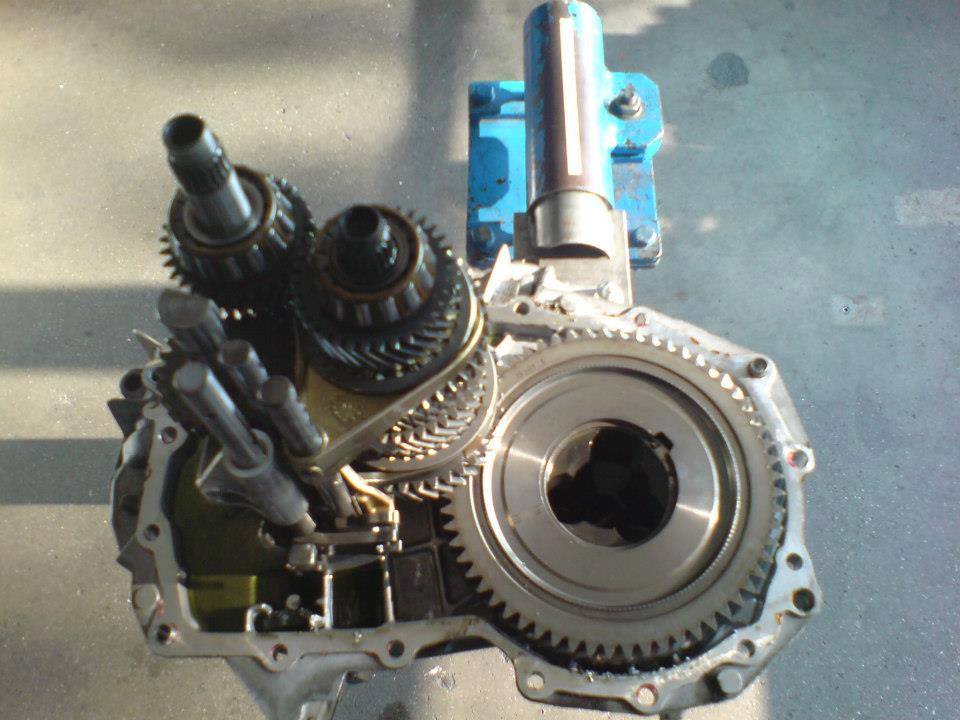
The gearbox housing was removed.
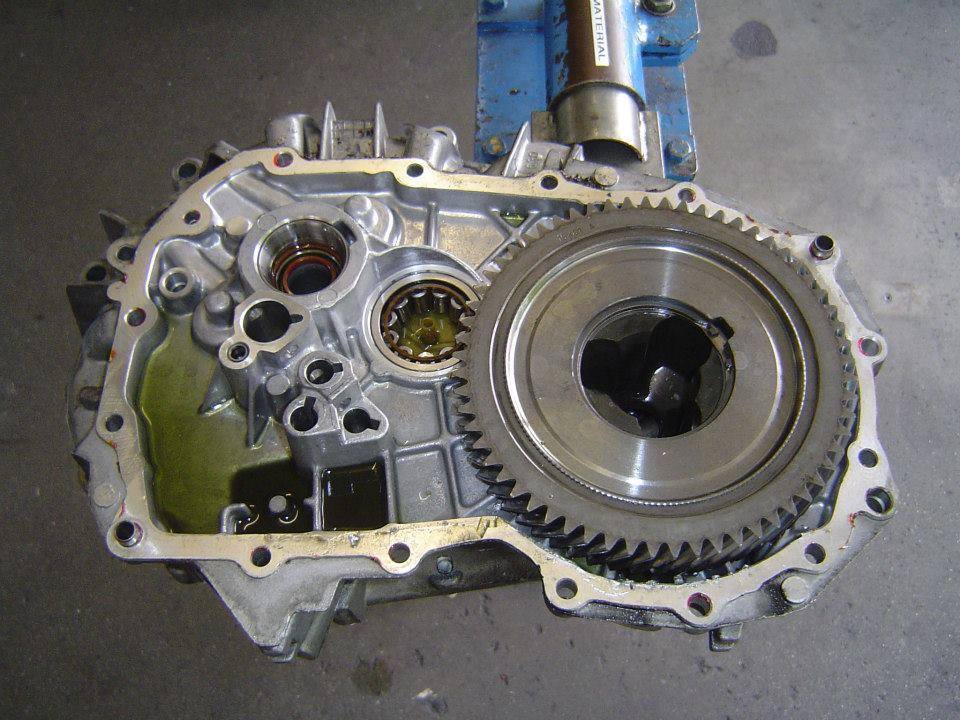
The shafts were expanded. Also the switching parts.
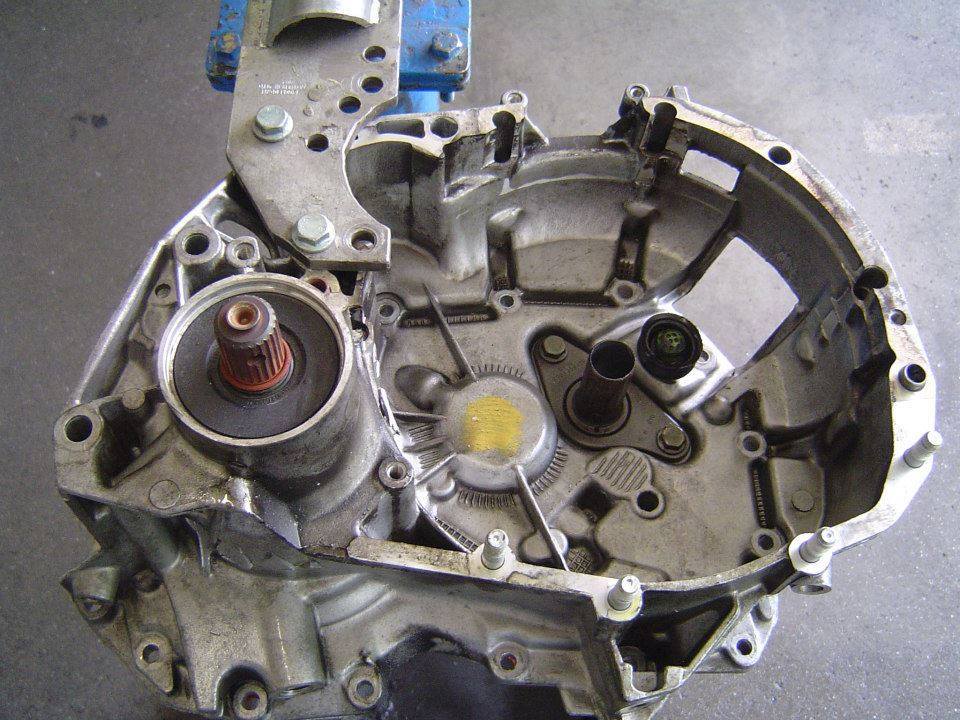
The clutch actuation has been removed.
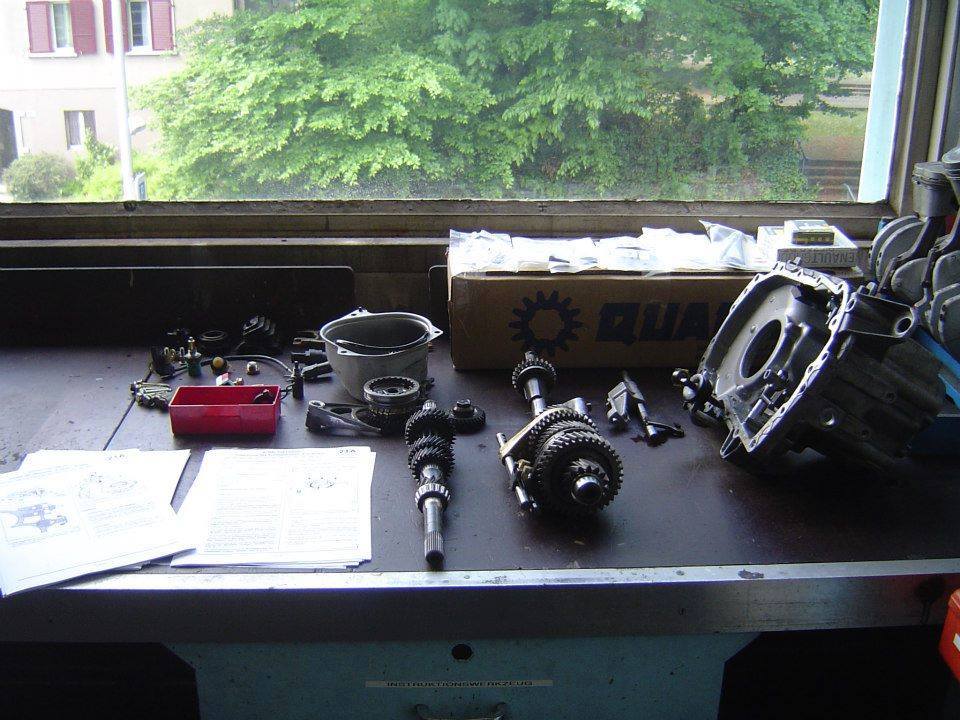
The removed parts.
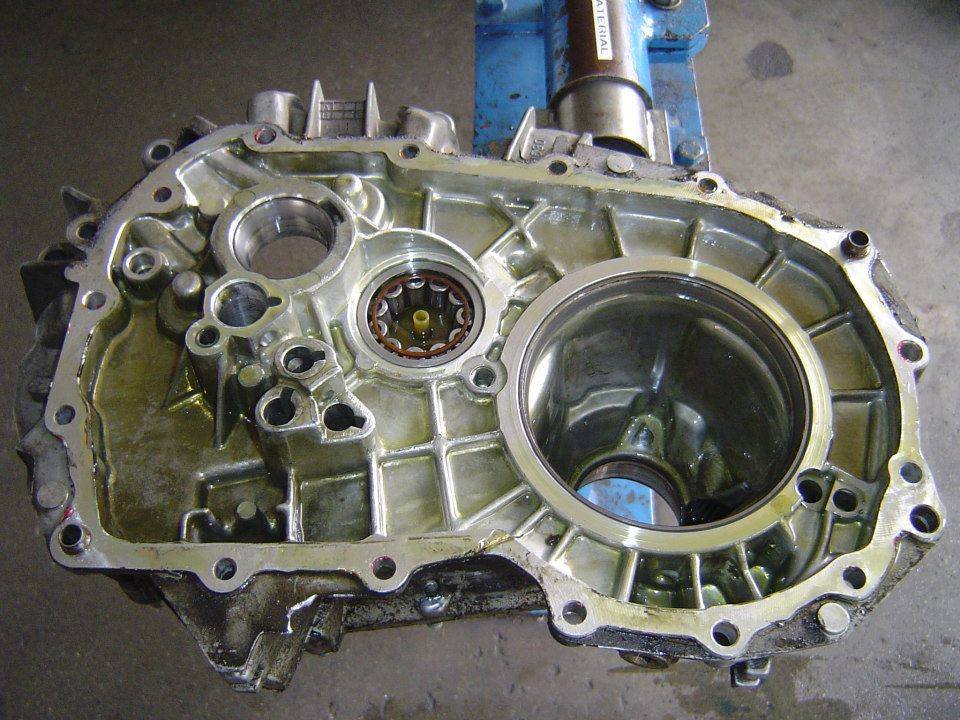
The original differential was developed.
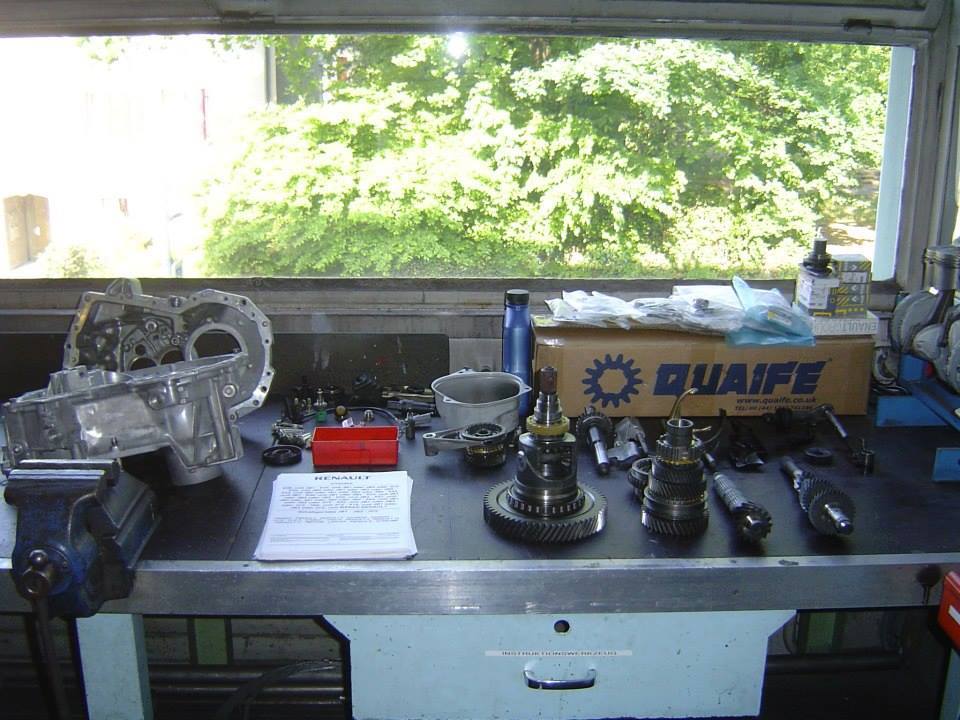
All parts were cleaned.
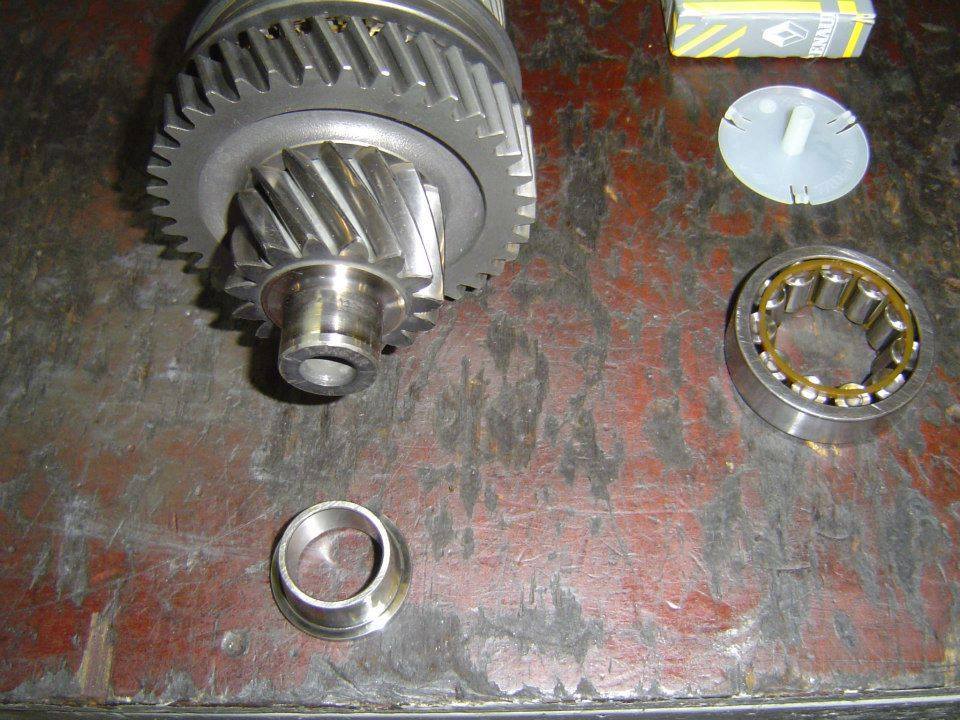
New roller bearings for the secondary shaft were mounted.
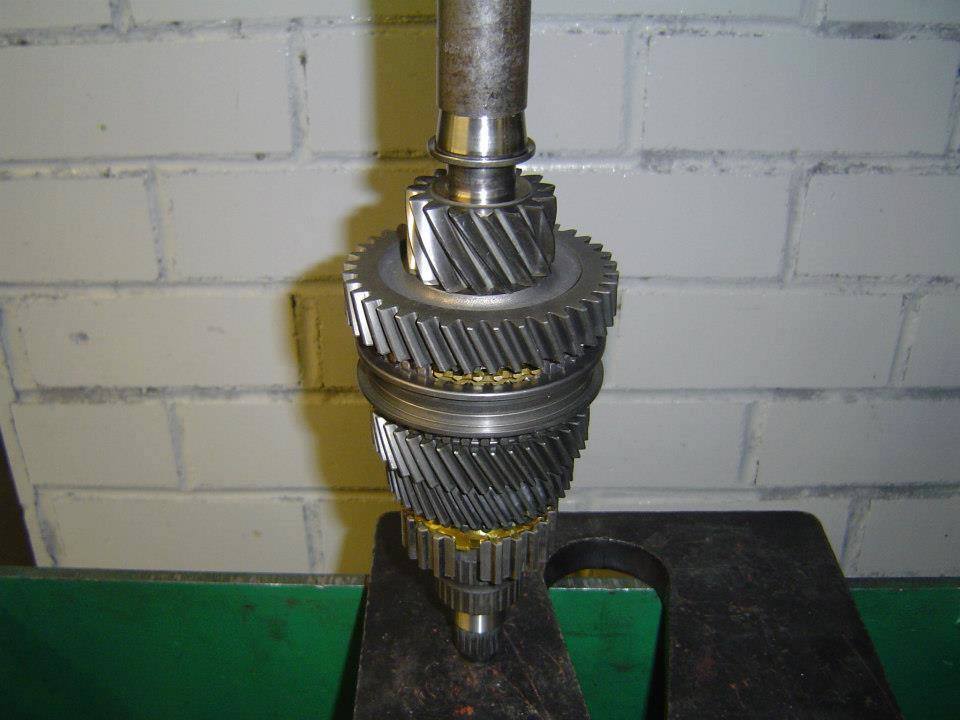
The new bearing ring for the secondary shaft was mounted.
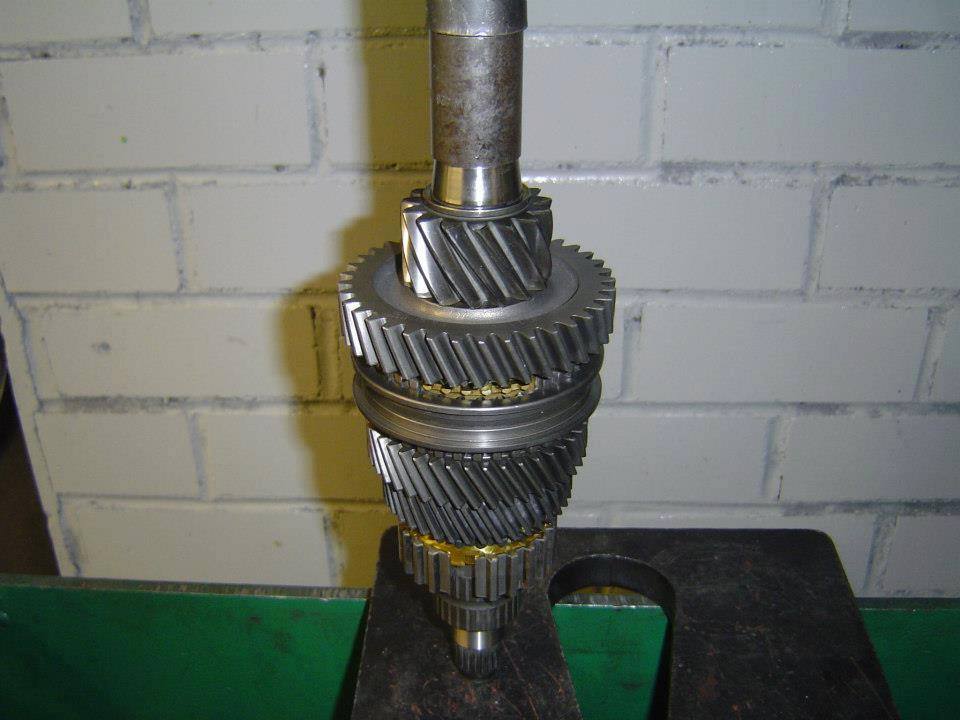
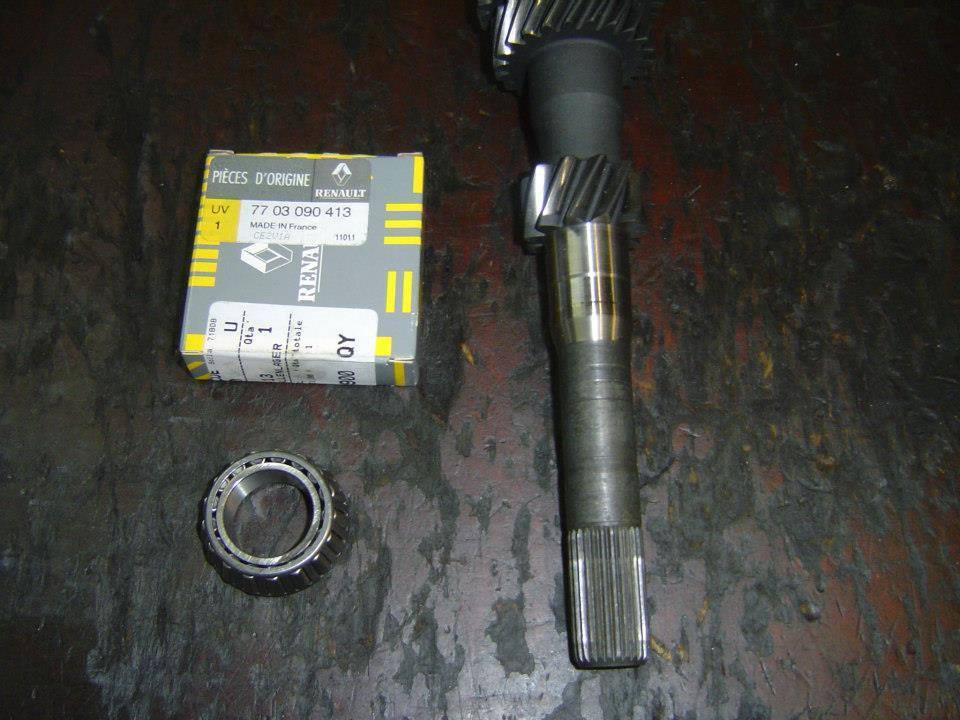
New roller bearings for the primary shaft.
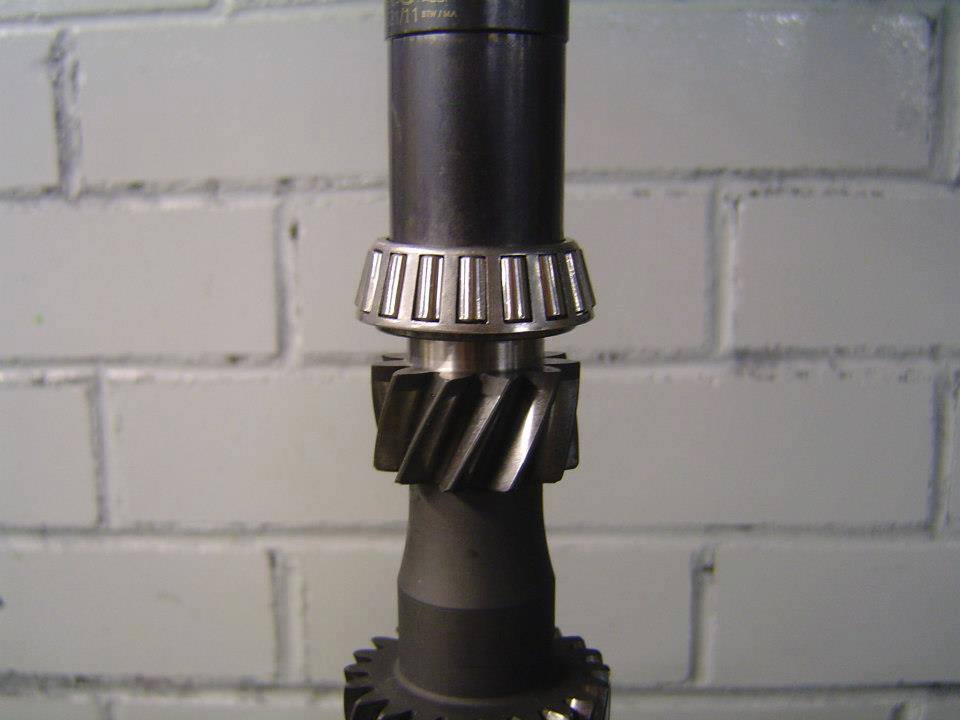
The new roller bearing for the primary shaft was mounted.
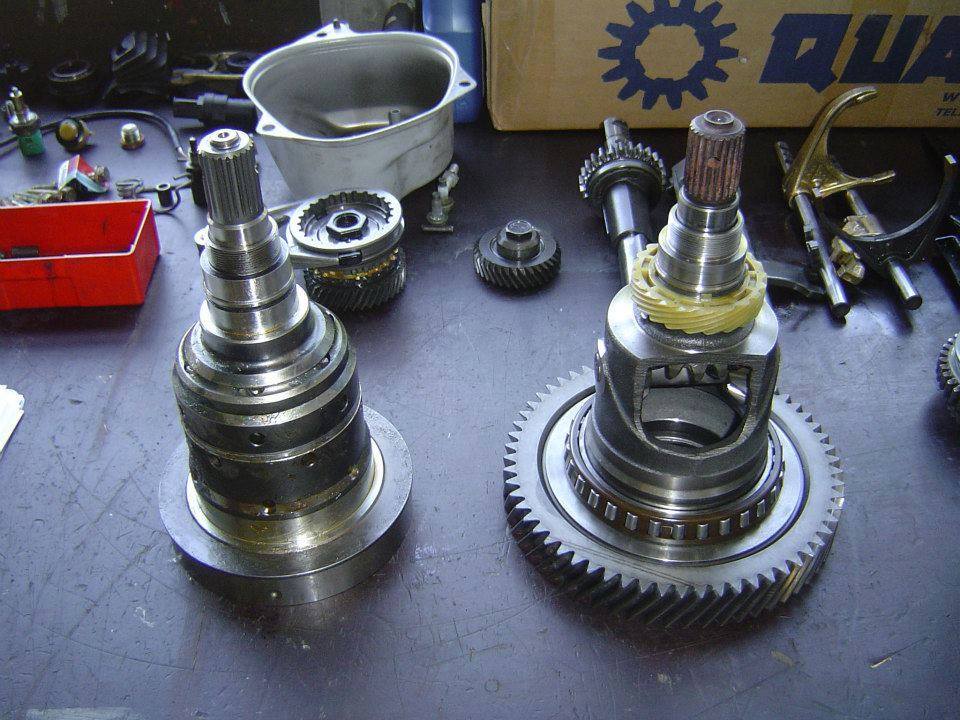
The crown wheel had to be pressed from the original differential and pressed onto the Quaife ATB Limited Slip Differential.
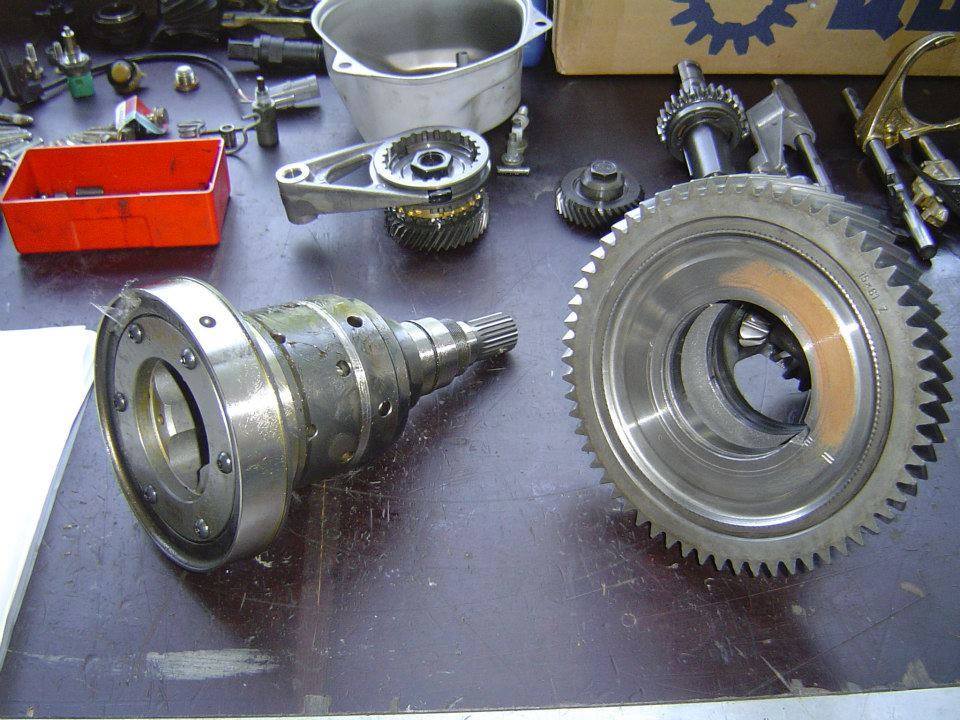
The crown wheel is now pressed onto the Quaife ATB Limited Slip Differential.
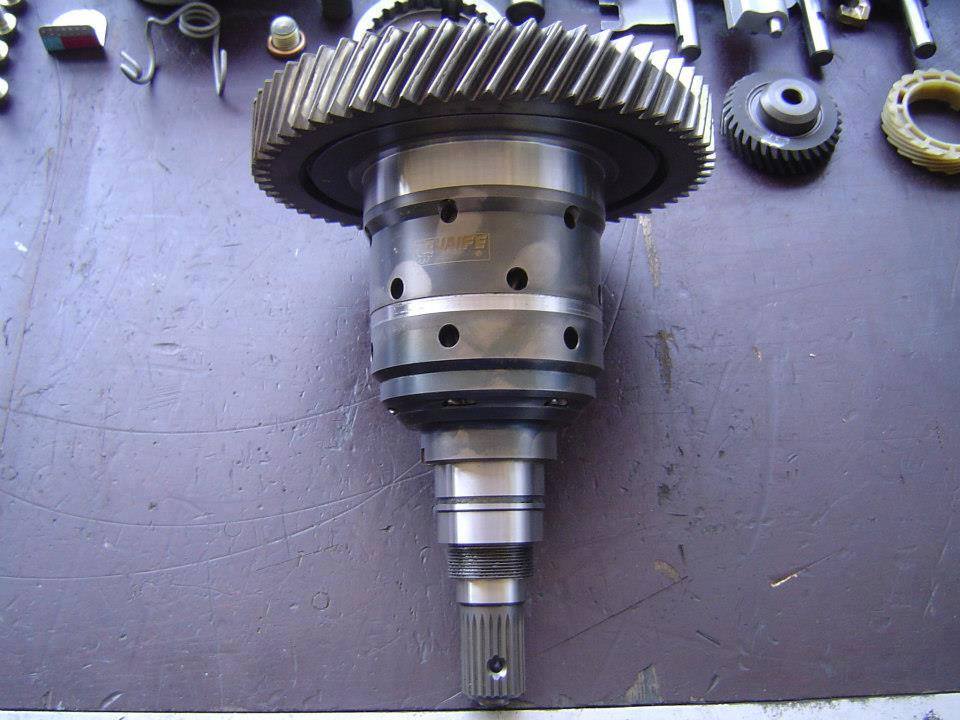
Detail view.
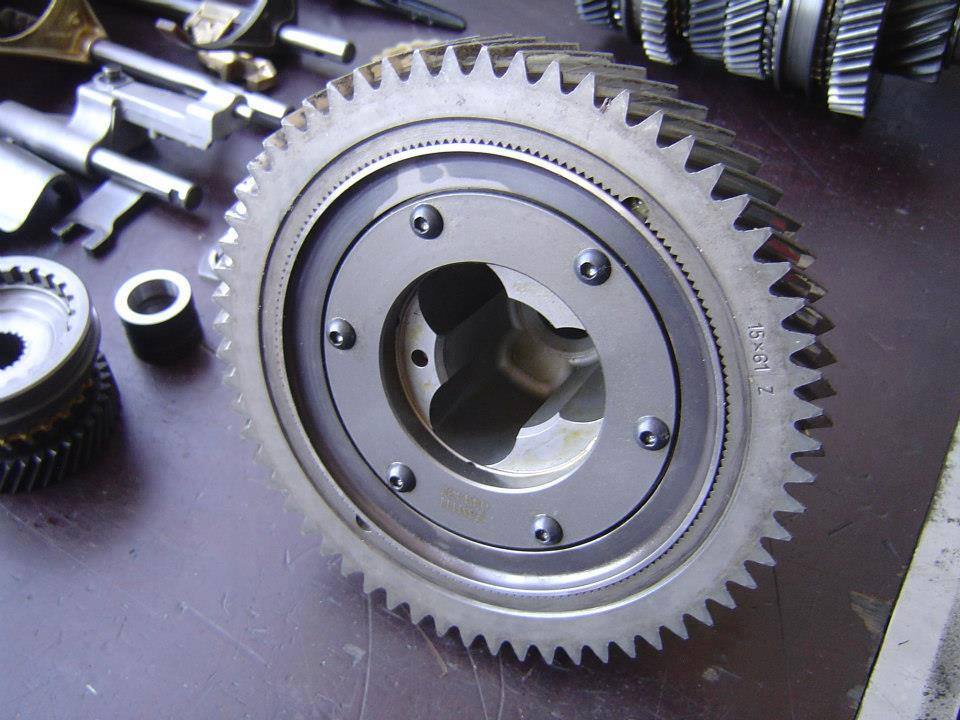
Detail view.
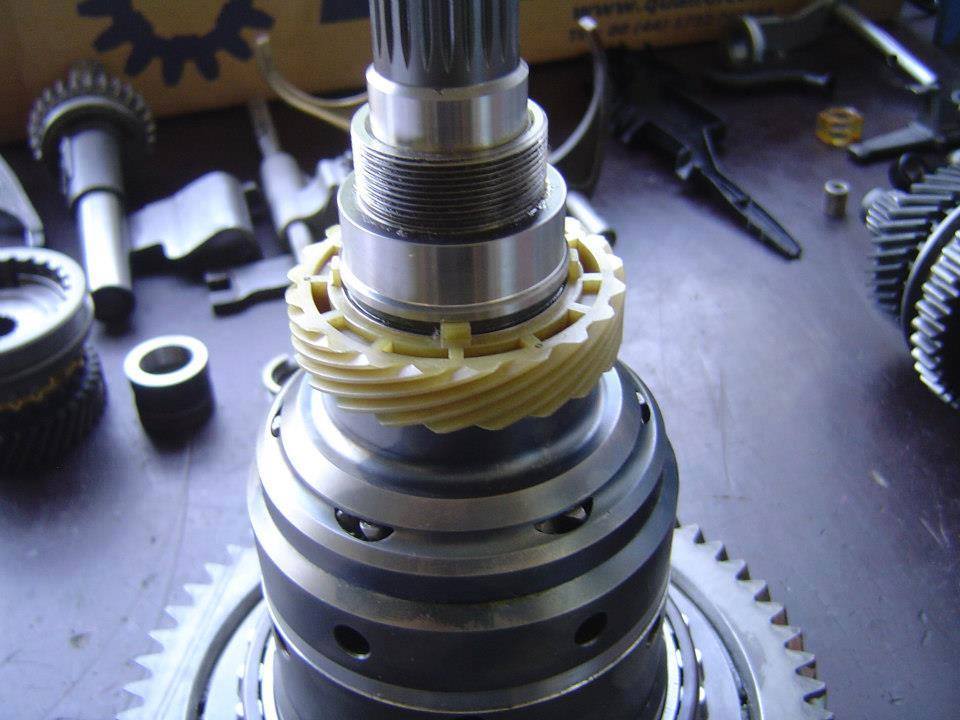
The tacho drive was installed.
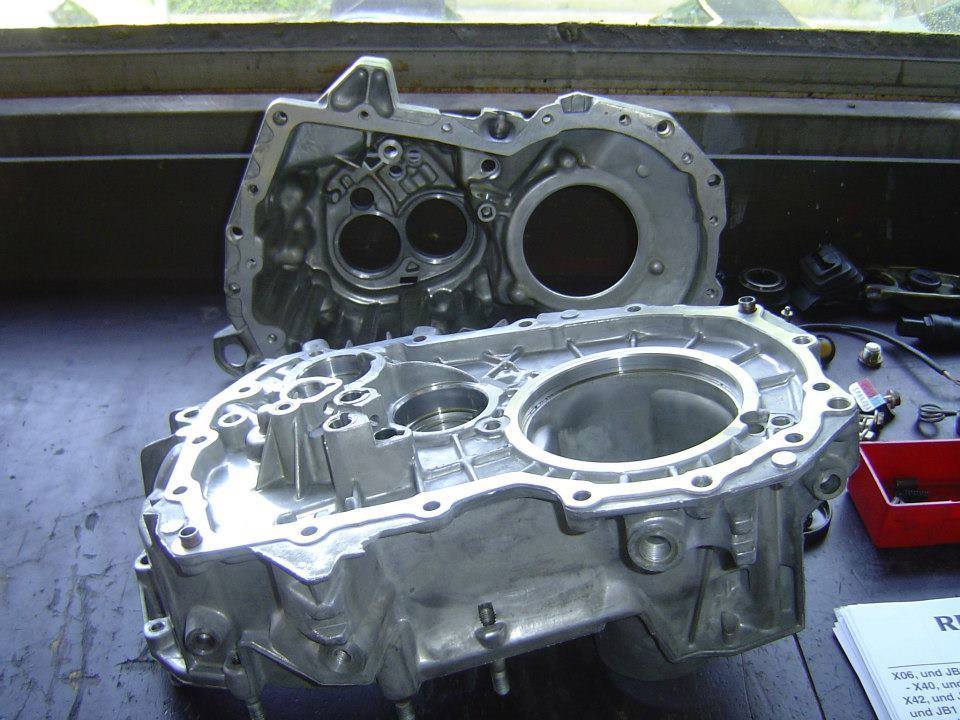
The transmission housings were glass-blasted.
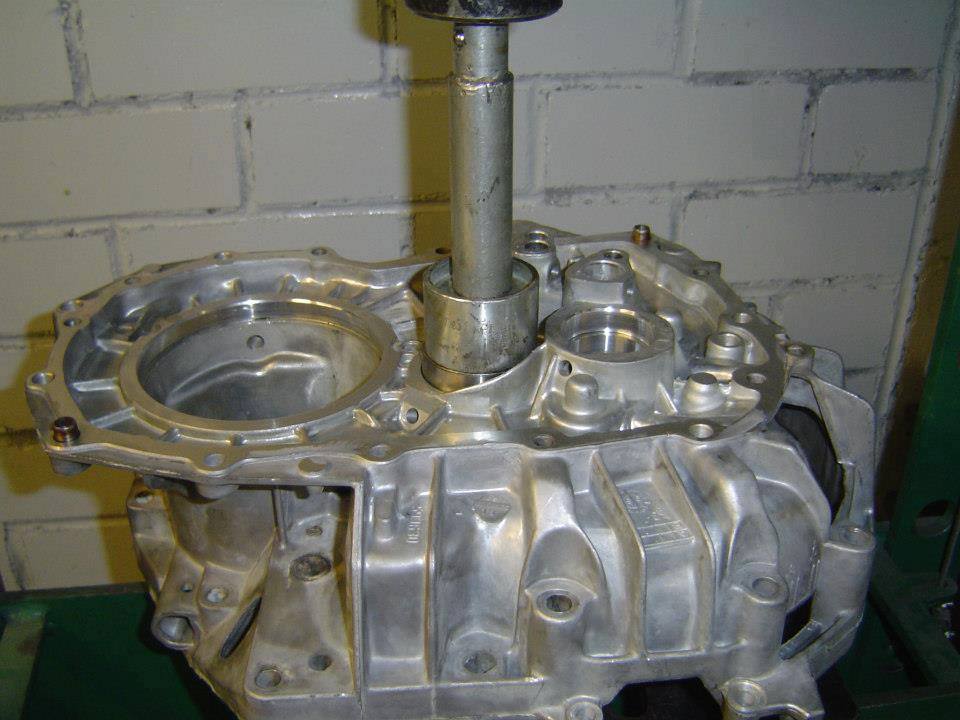
A new roller bearing for the secondary shaft was pressed into the gear housing.
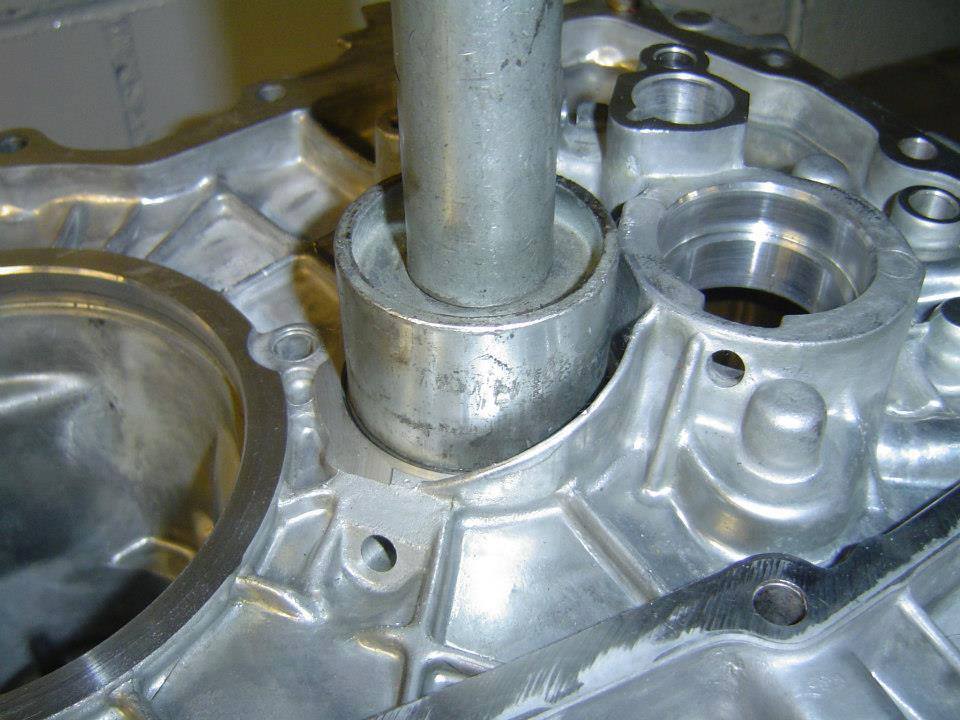
The roller bearing was pressed in.
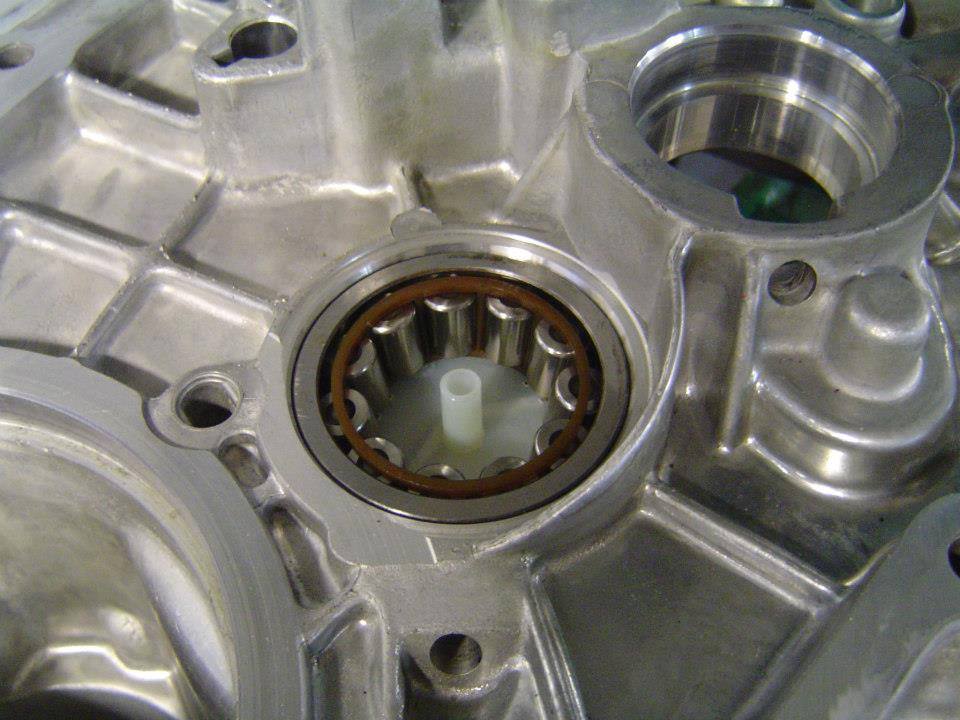
Detail view.
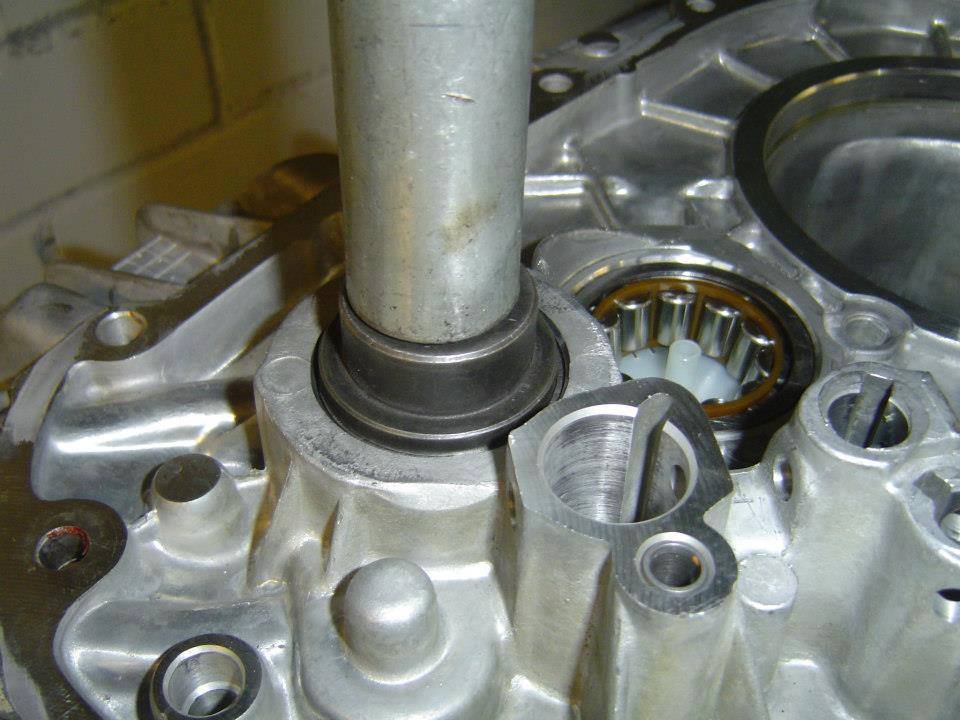
The new bearing shell for the primary shaft was pressed into the gearbox housing.
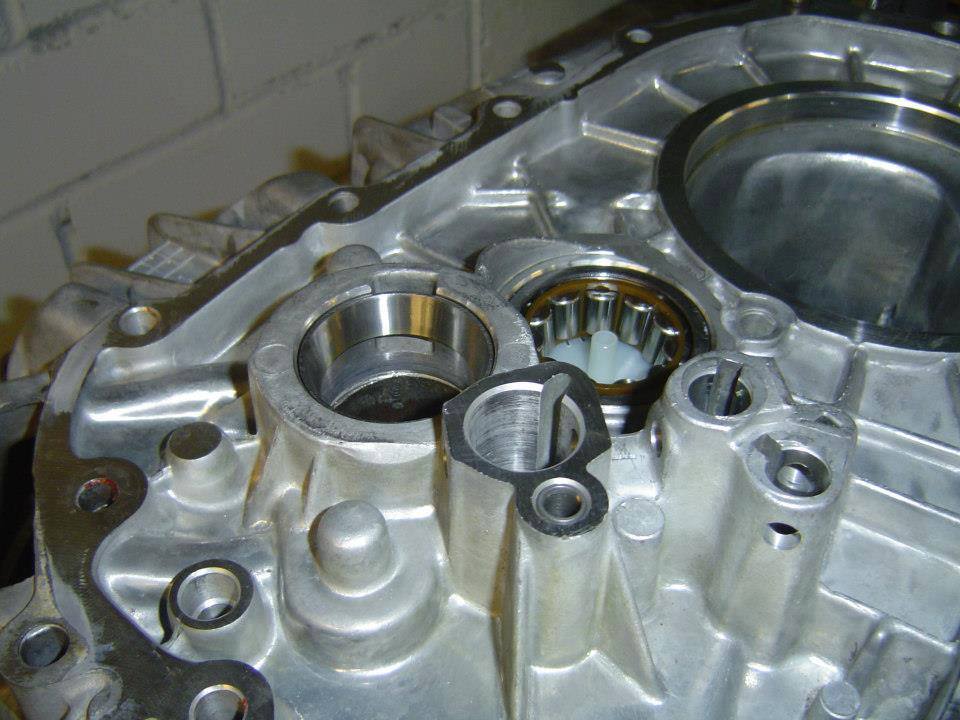
The bearing shell was pressed in.
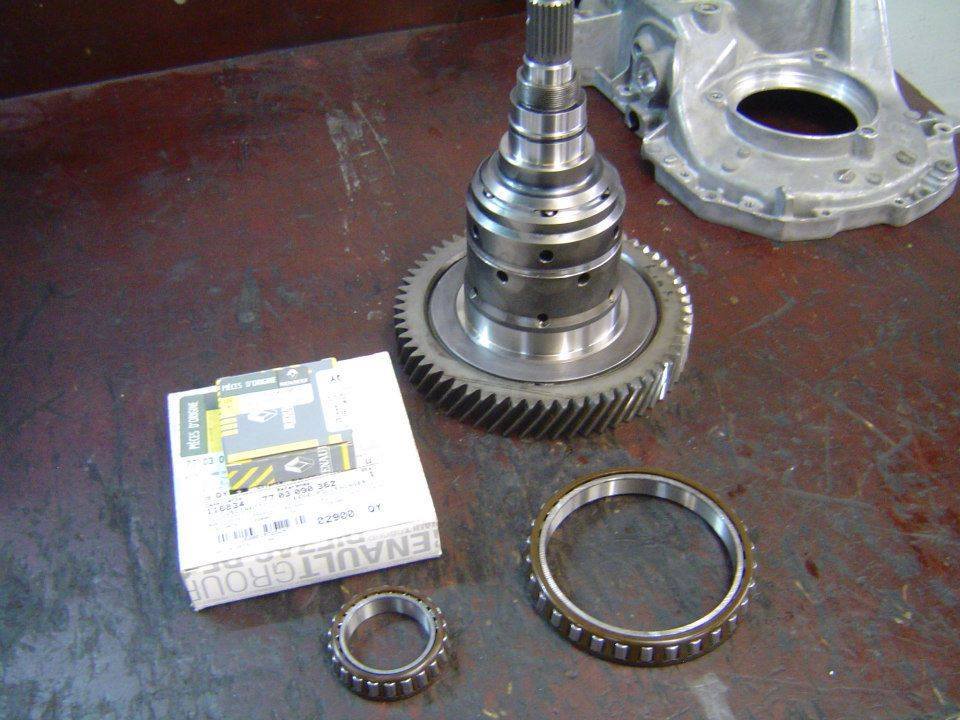
New roller bearing for the Quaife ATB Limited Slip Differential.
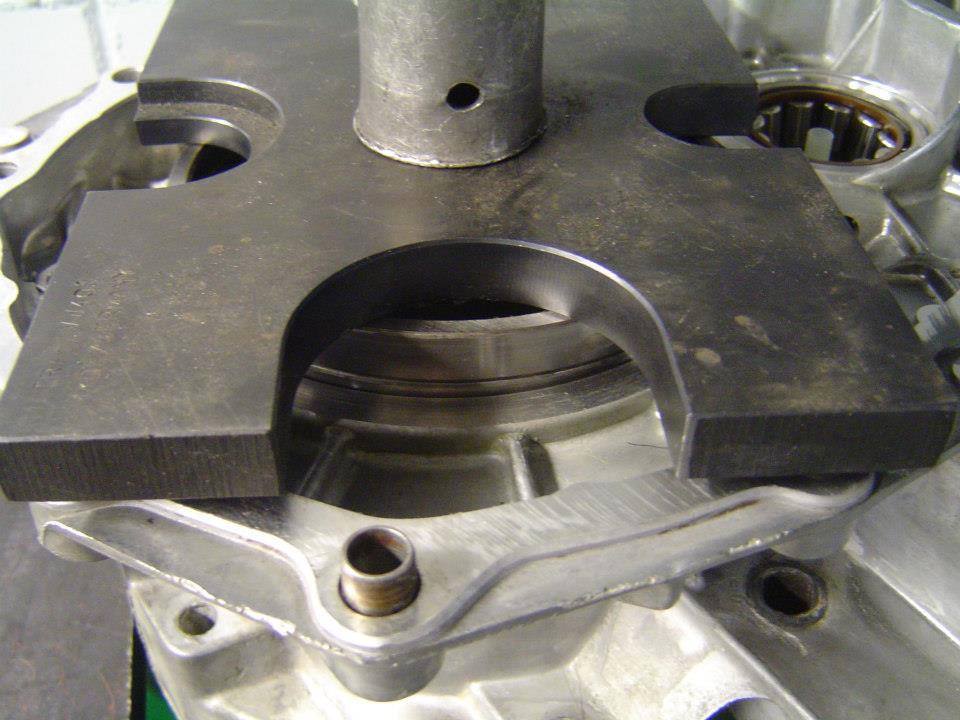
The bearing shell of the differential bearing was pressed in.
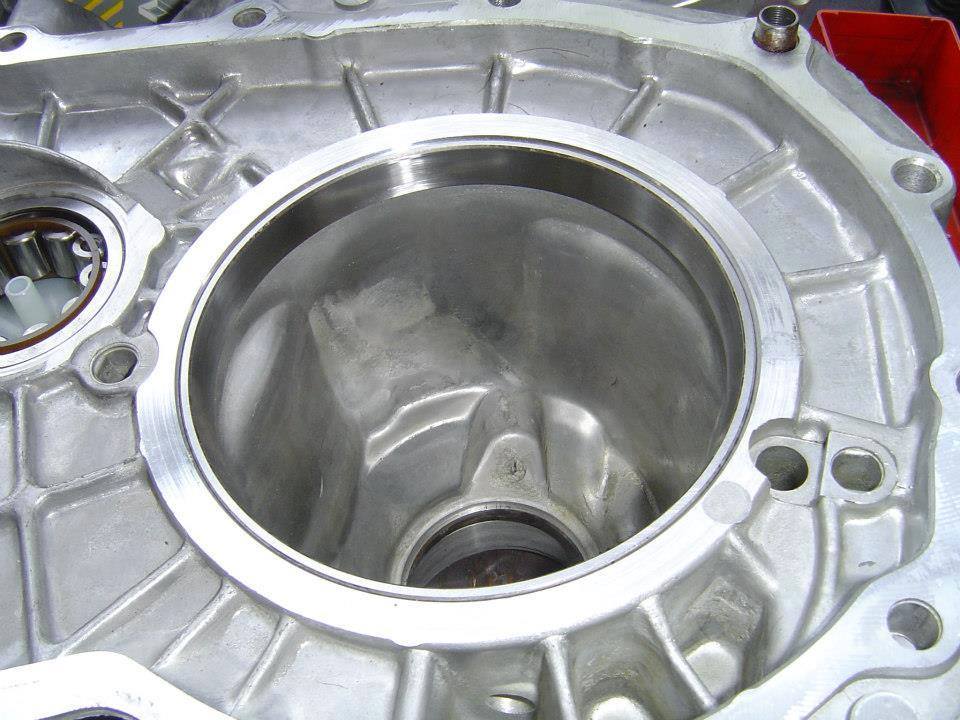
Detail view.
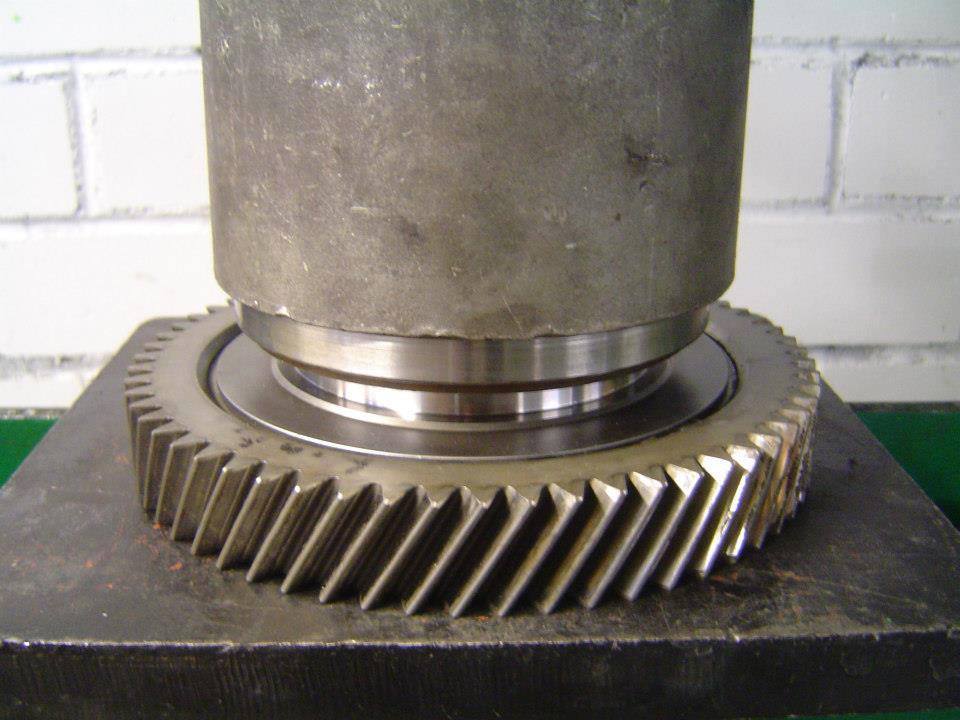
The roller bearing was pressed onto the Quaife ATB Limited Slip Differential.
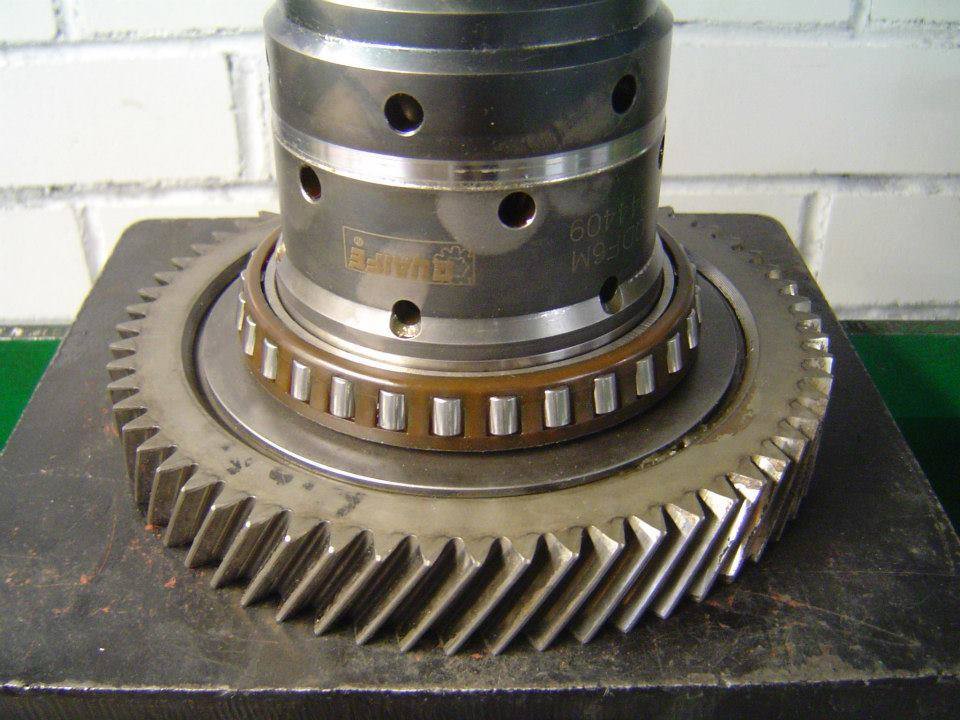
The roller bearing was pressed on.
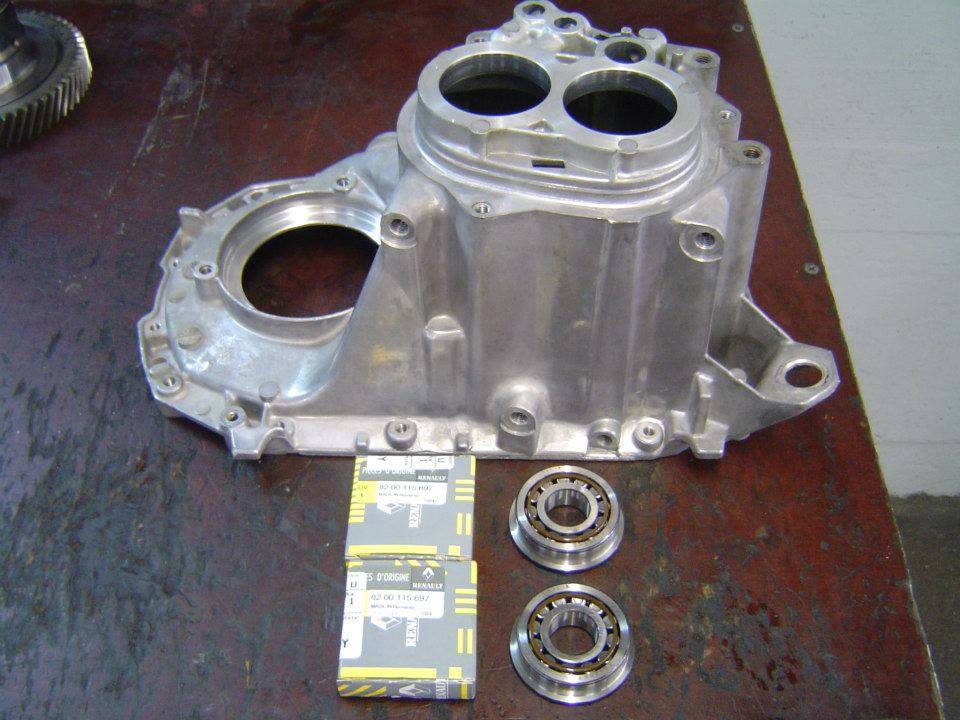
New roller bearings for the transmission housing for the primary and secondary shaft.
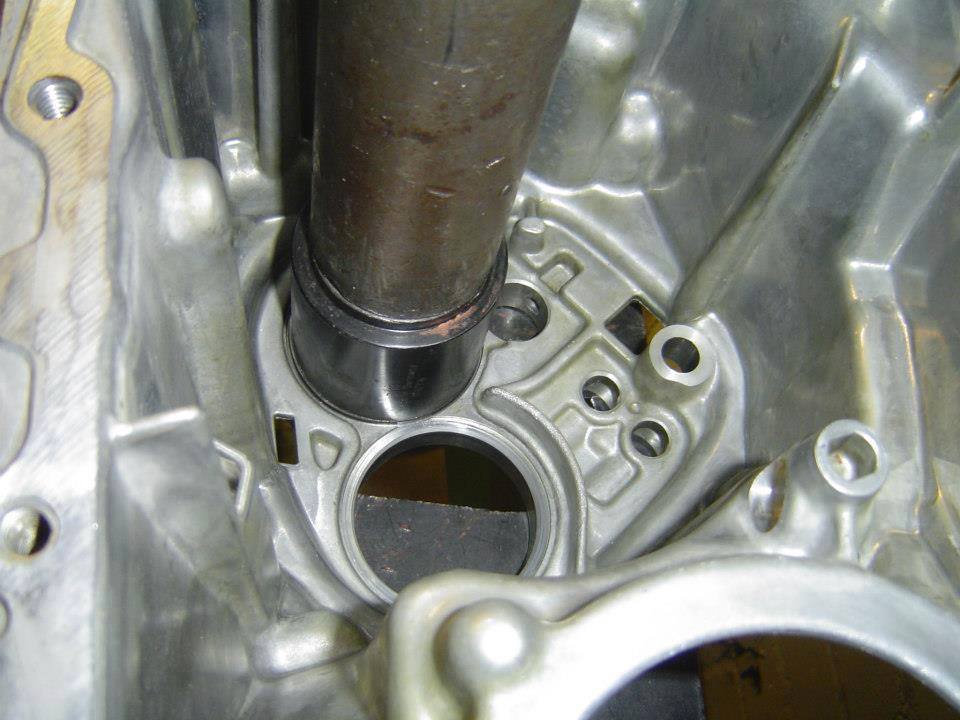
The bearing shells were pressed into the gear housing.
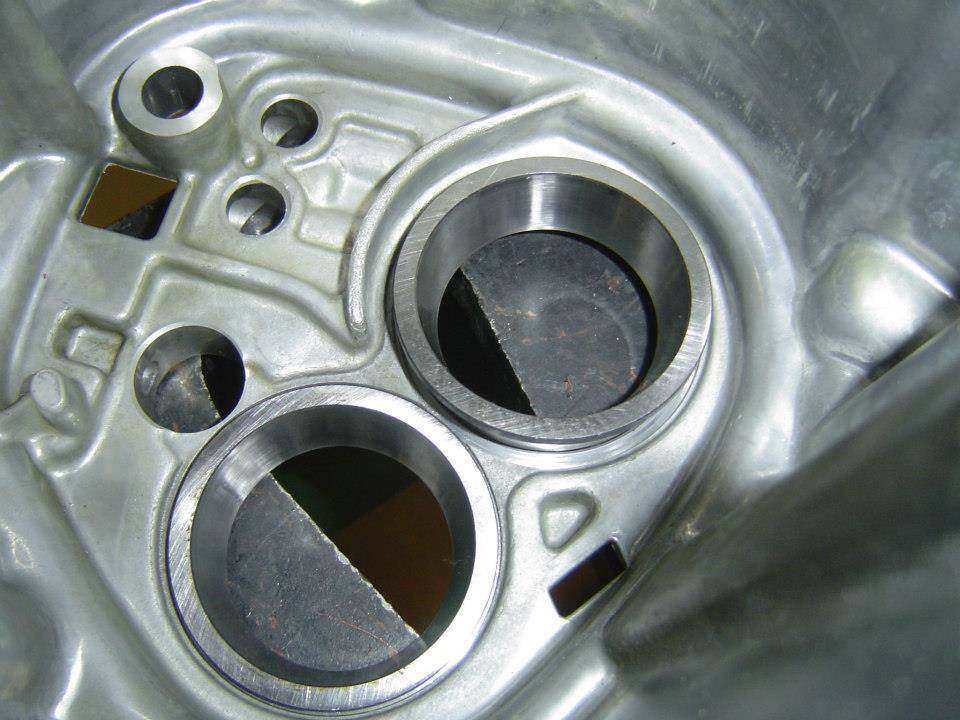
The bearing shells were pressed in.
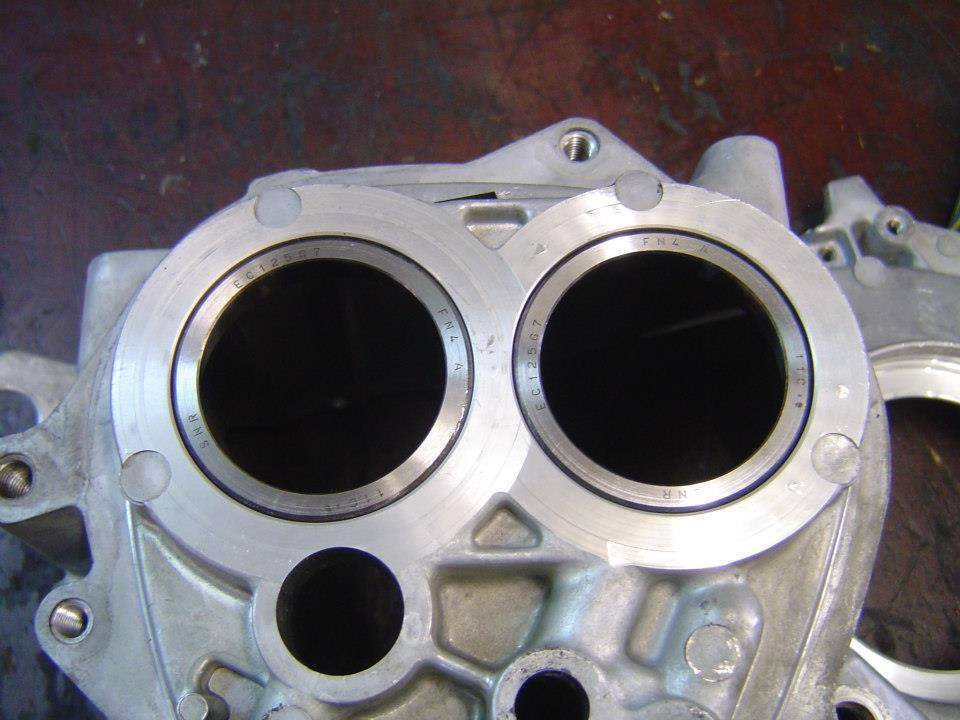
Detail view.
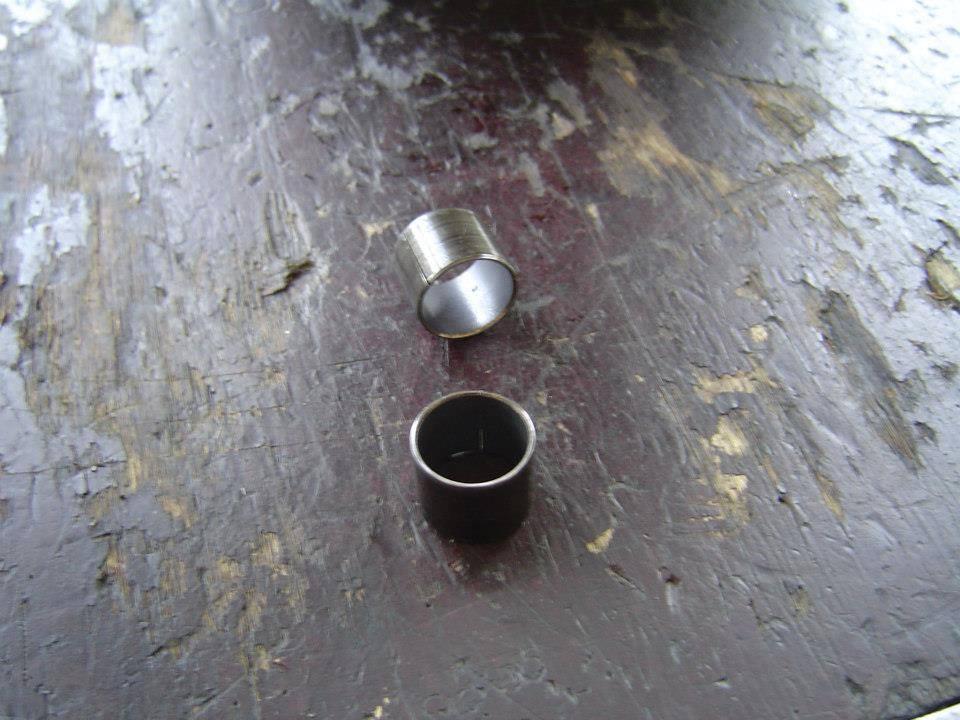
New bearings for the shift actuator.
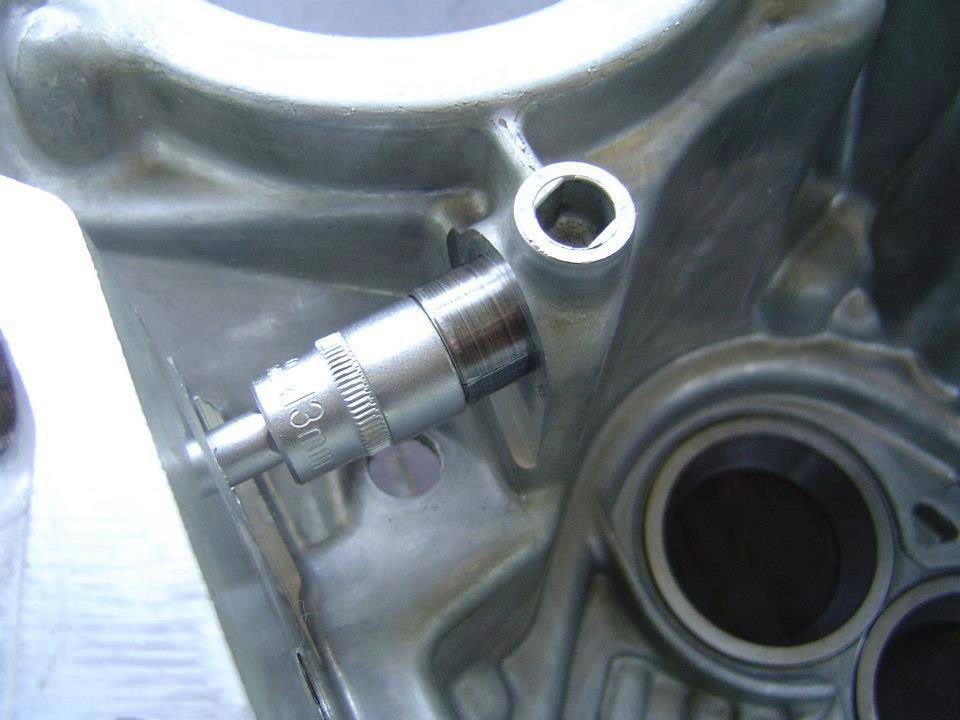
The bearings of the shift actuator were pressed in.
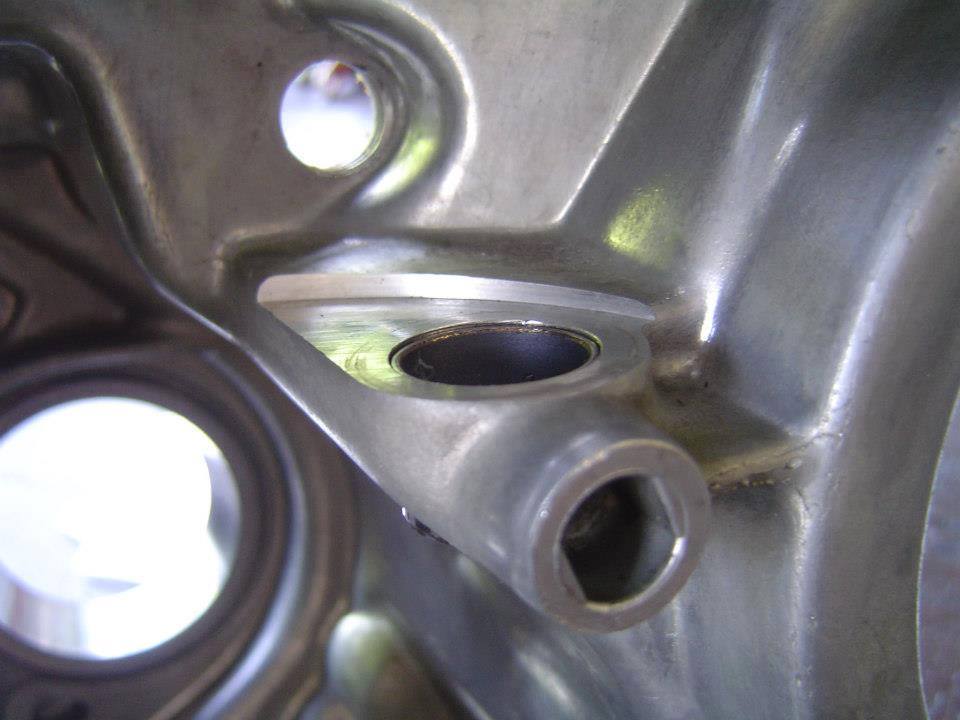
The bearings of the shift actuator were pressed in.
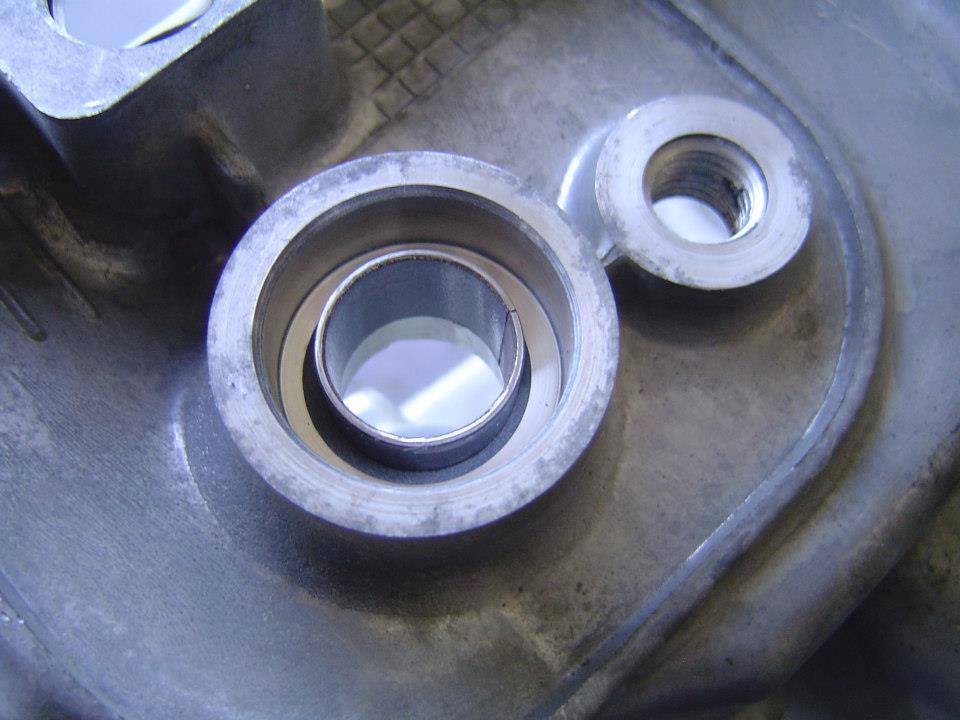
Detail view.
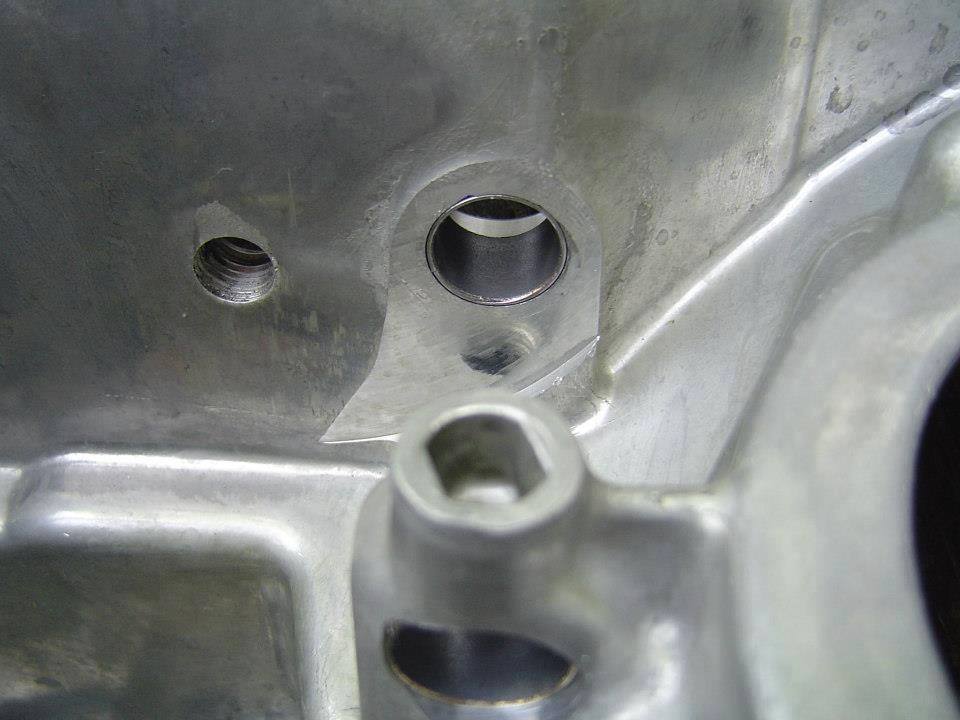
Detail view.
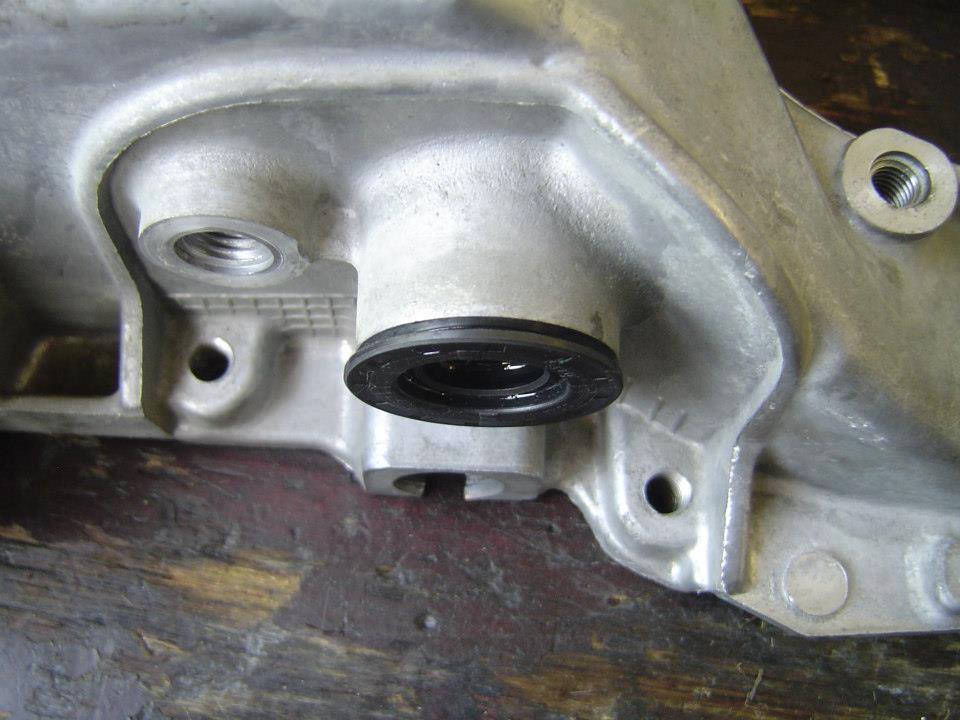
A new shaft seal for the shift actuator has been mounted.
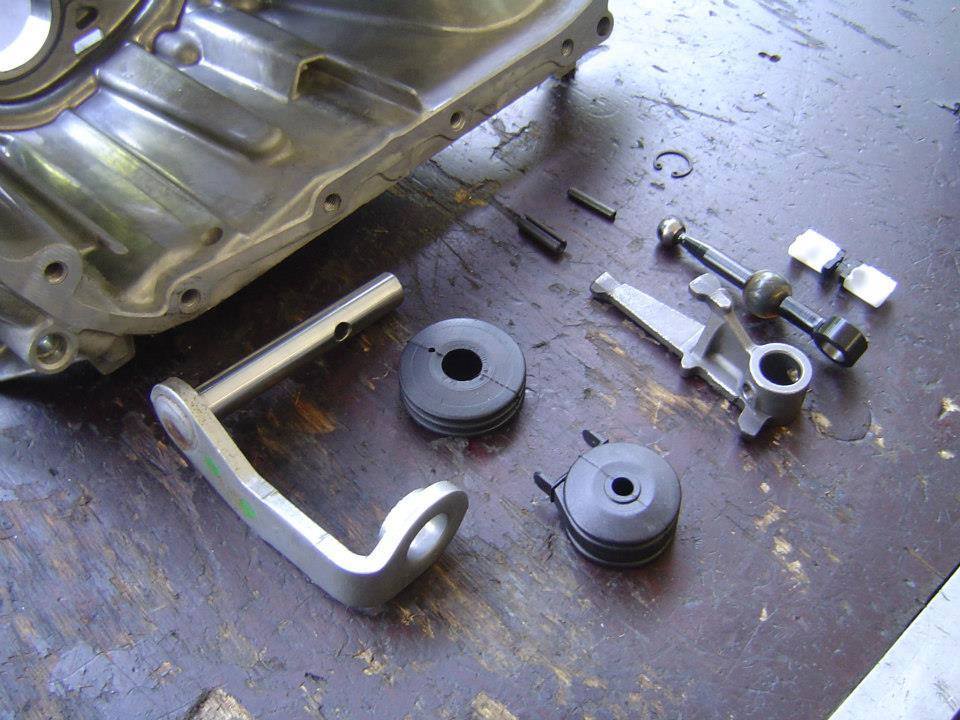
The shift actuator has been mounted.
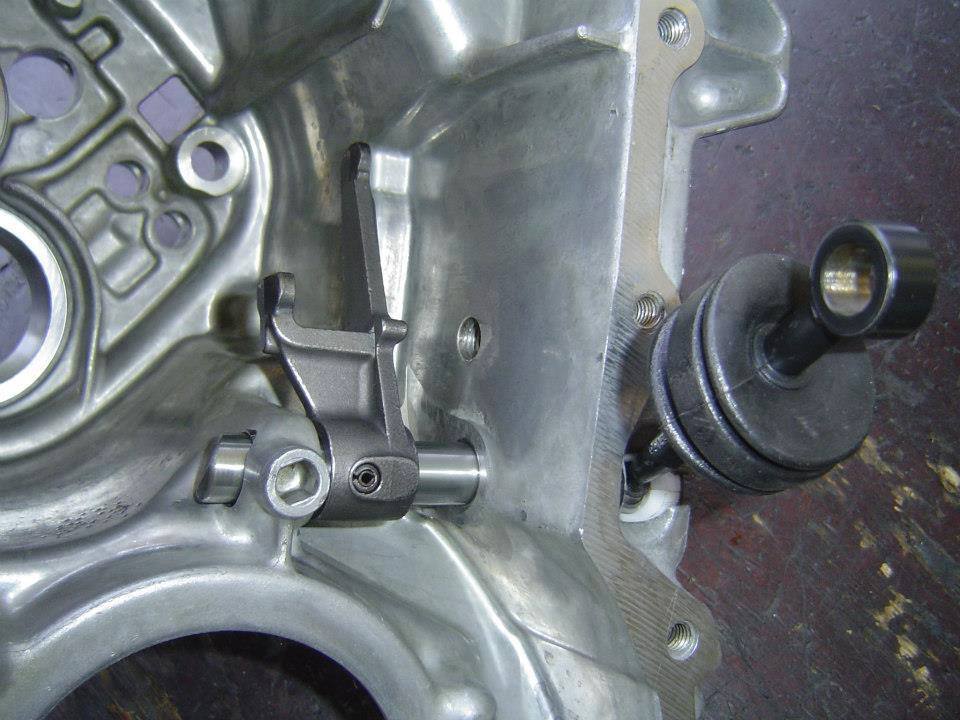
The assembled shift actuator.
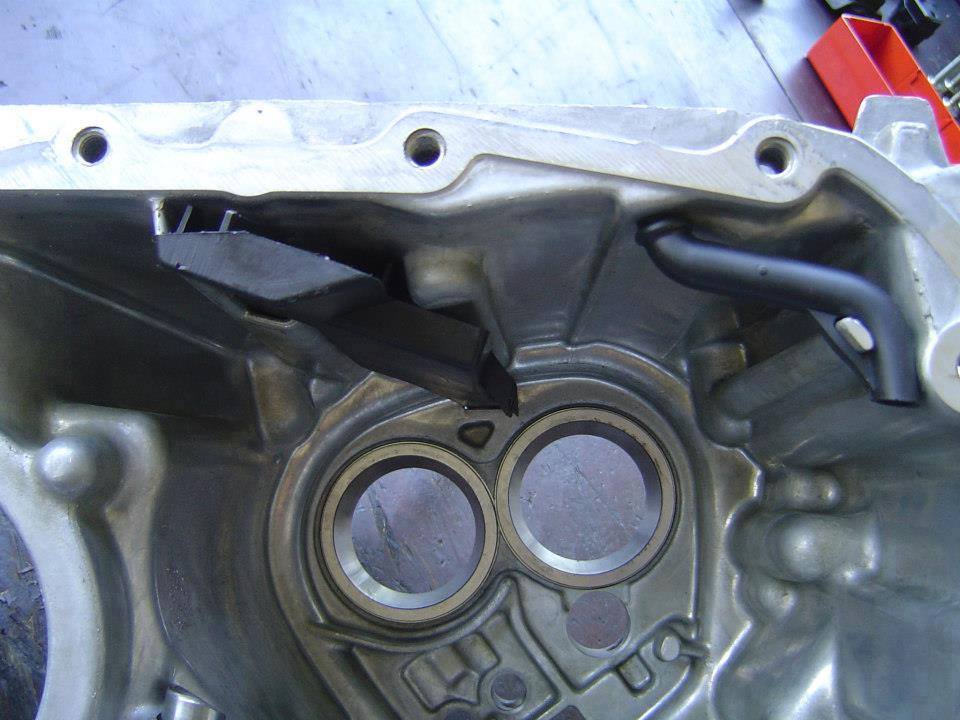
The oil pipe and the vent pipe were mounted.
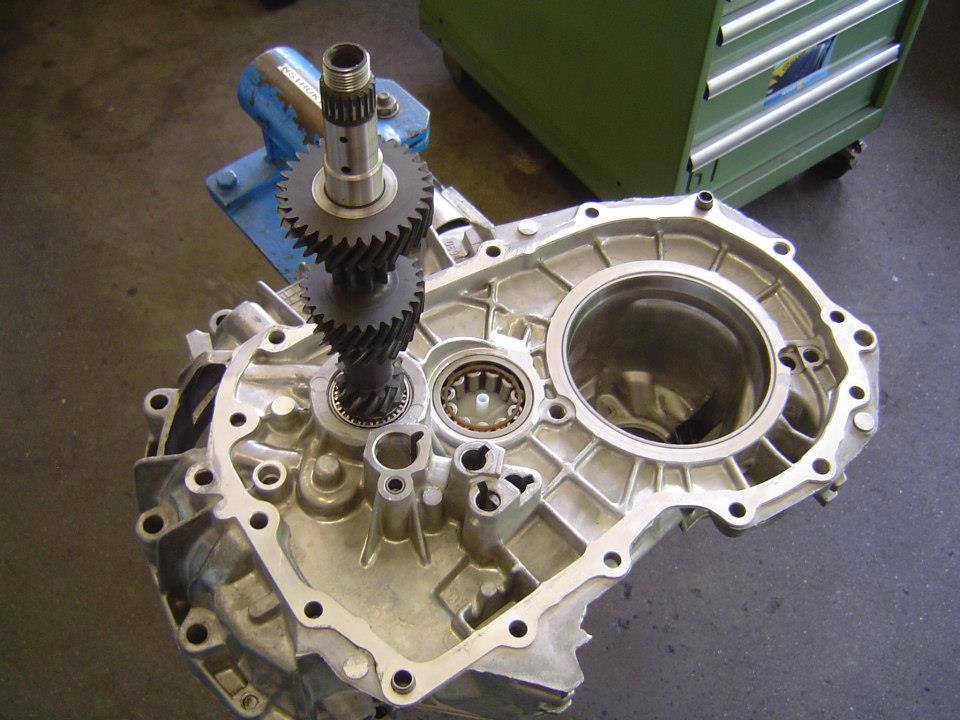
First, the primary shaft was mounted.
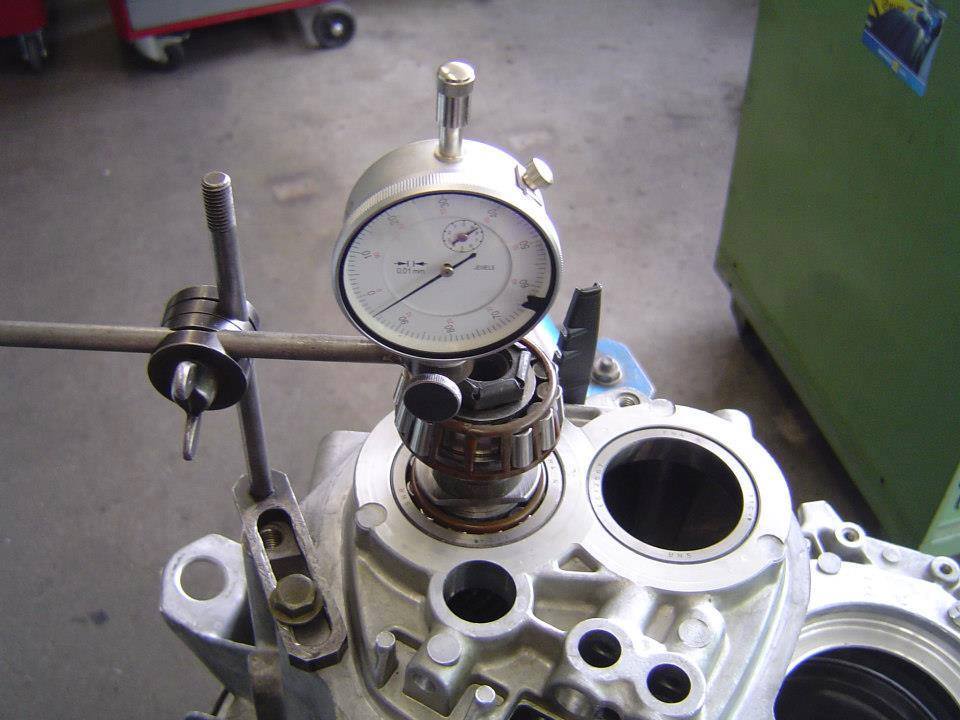
The primary shaft play was checked and set. The same applies to the secondary shaft.
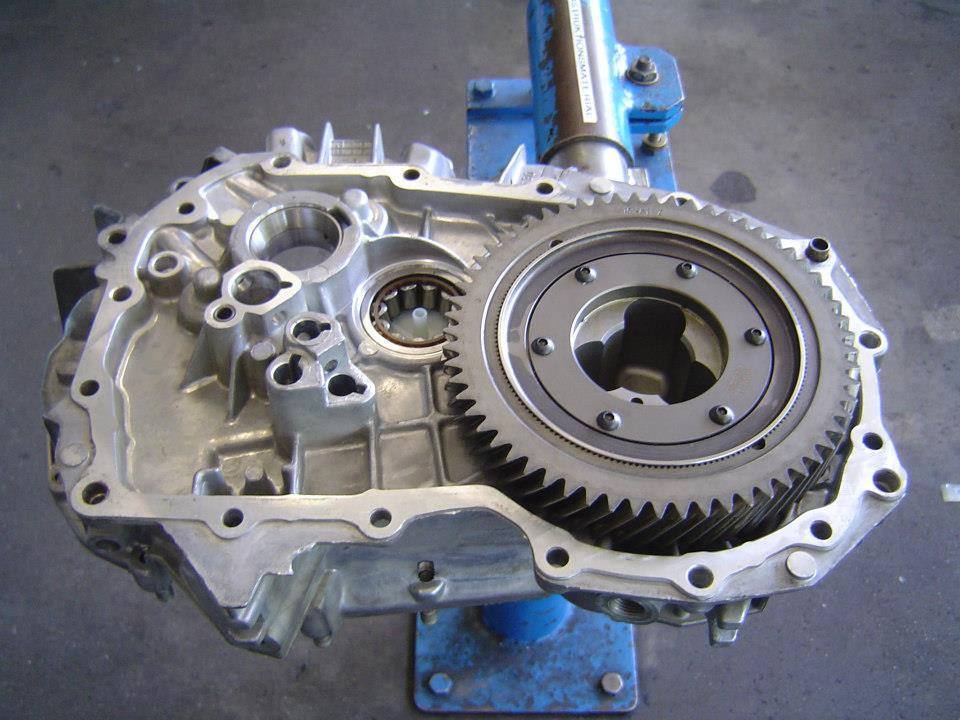
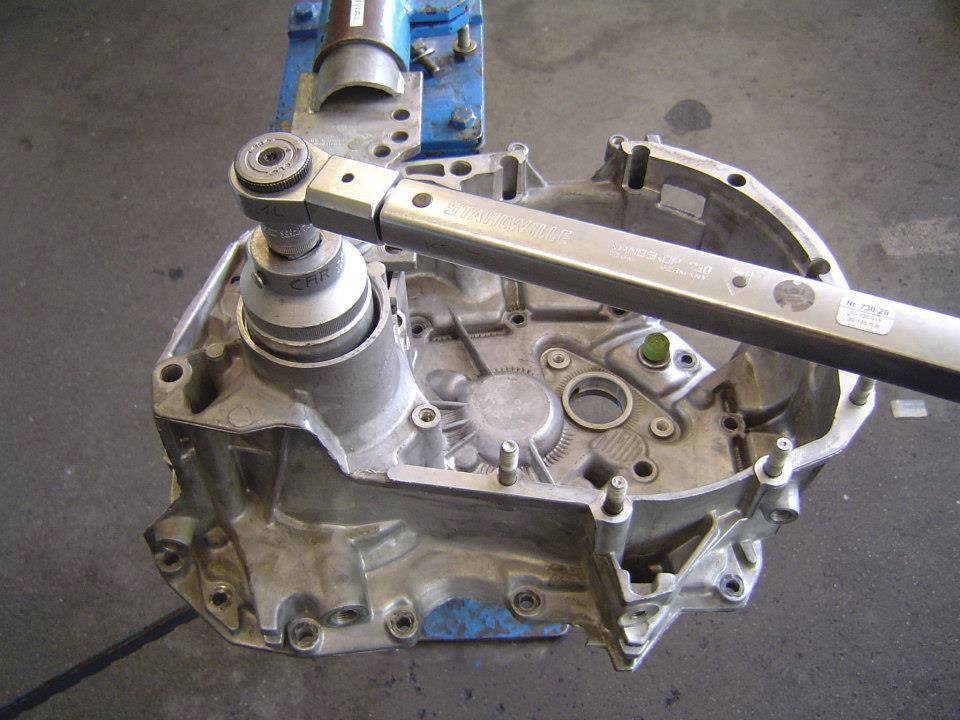
On the other side, the Quaife ATB Limited Slip Differential and the second differential bearing were screwed.
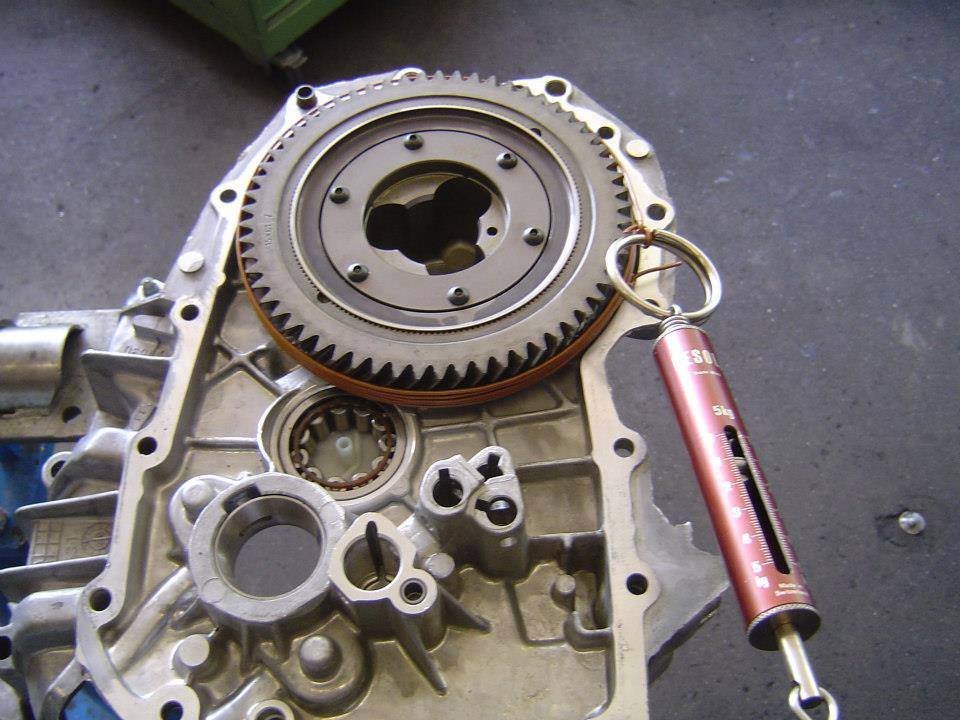
The bearing preload was tested and adjusted.
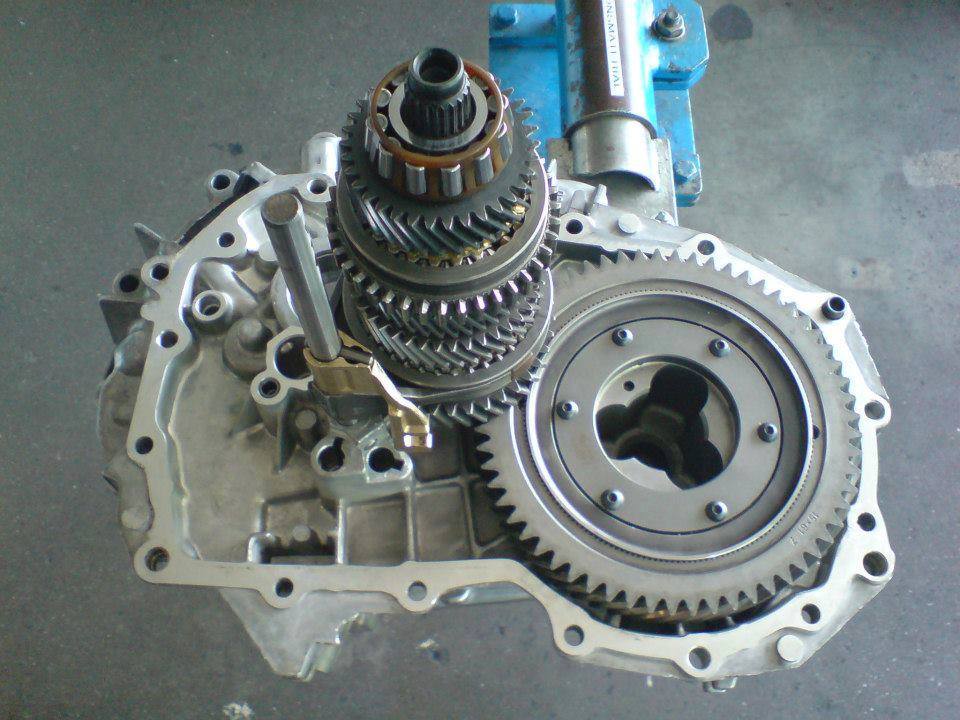
The secondary shaft and the associated shift actuator were mounted first.
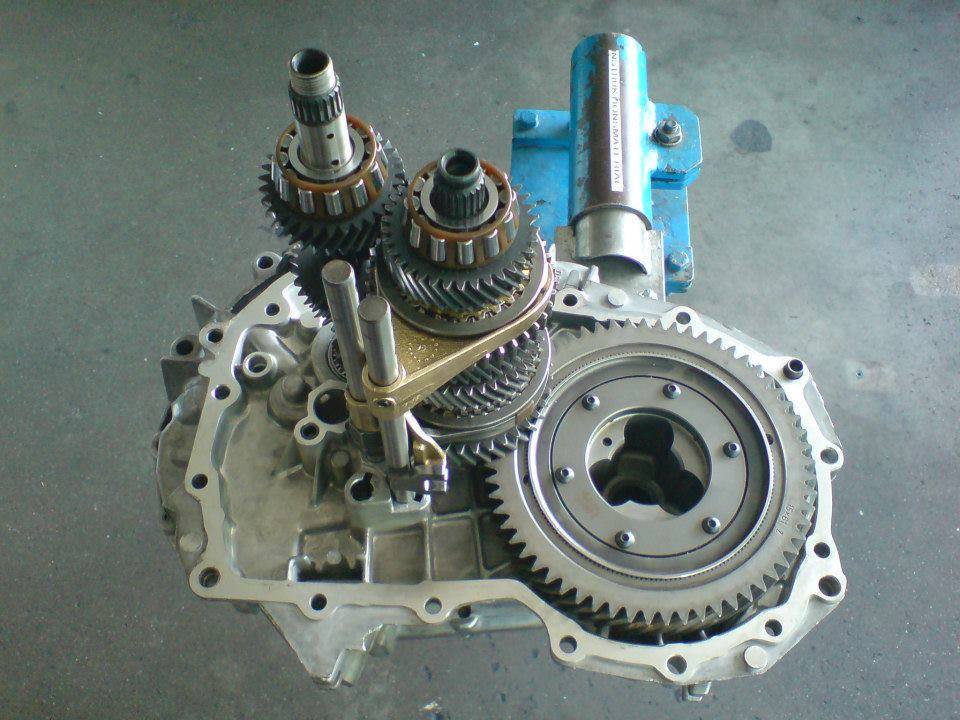
This was followed by the primary shaft with the corresponding switch actuator.
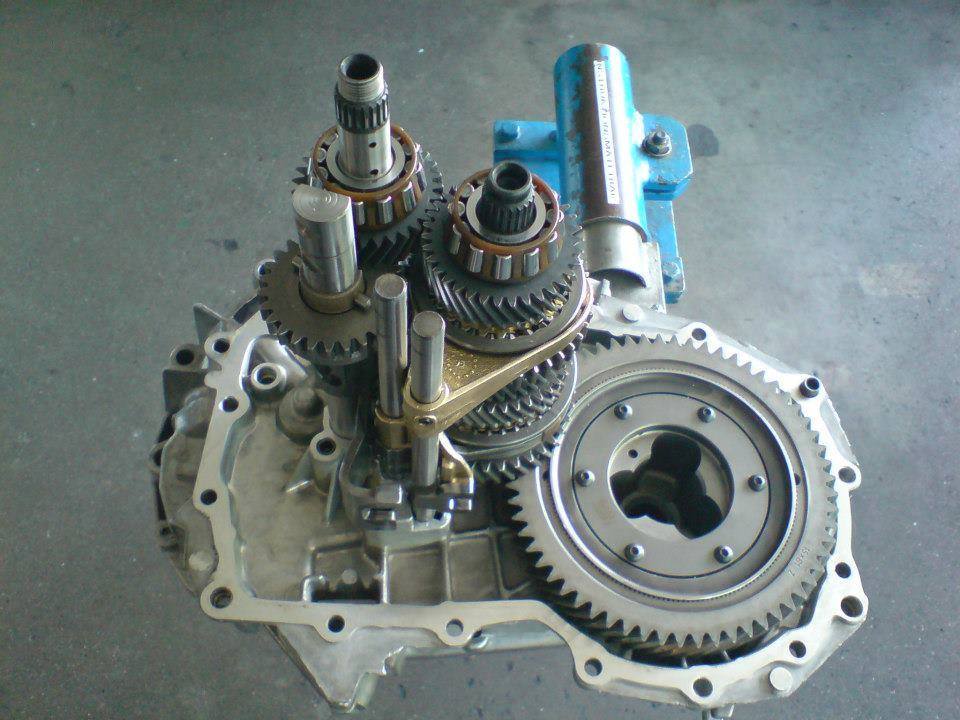
This was followed by the reverse gear shaft.
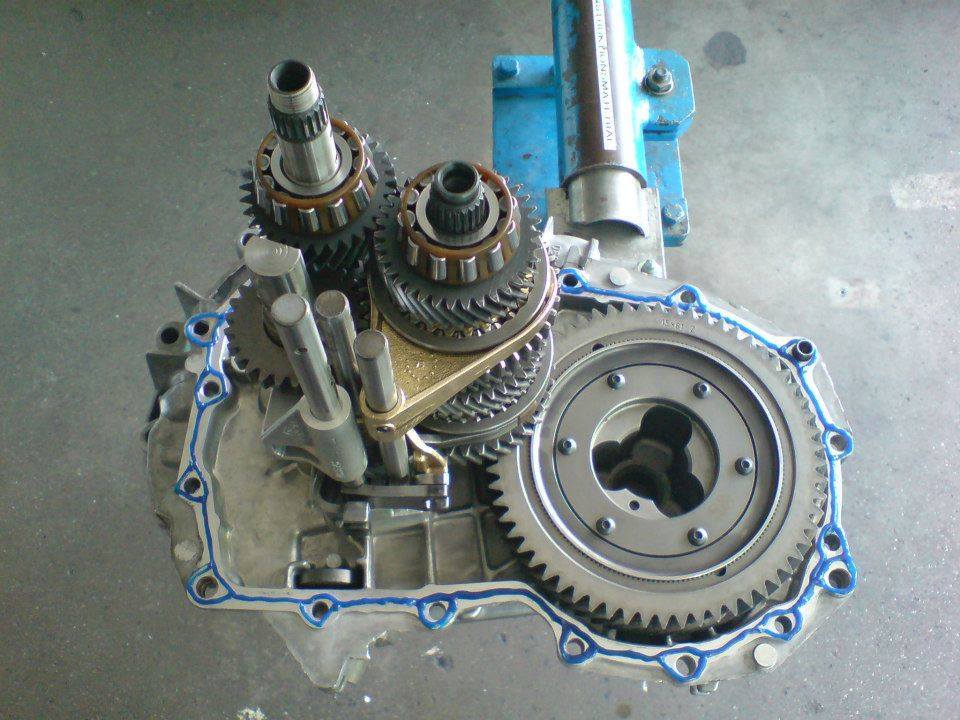
Subsequently, the actuator of the reverse gear was mounted and the sealing compound applied.
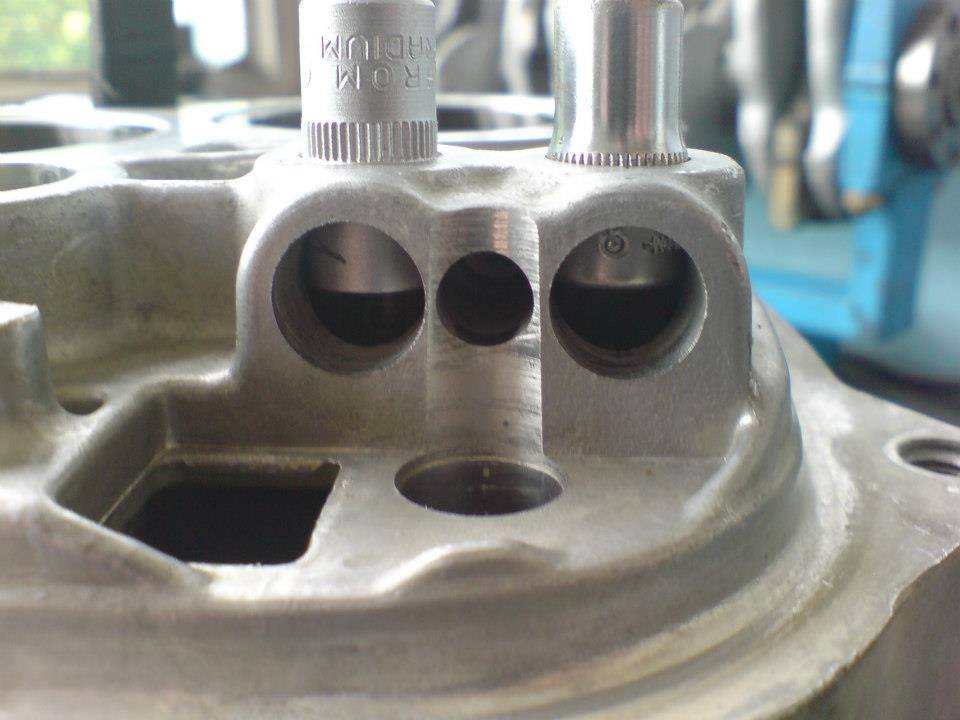
The shift controler were deployed and secured before the gearbox was put on.
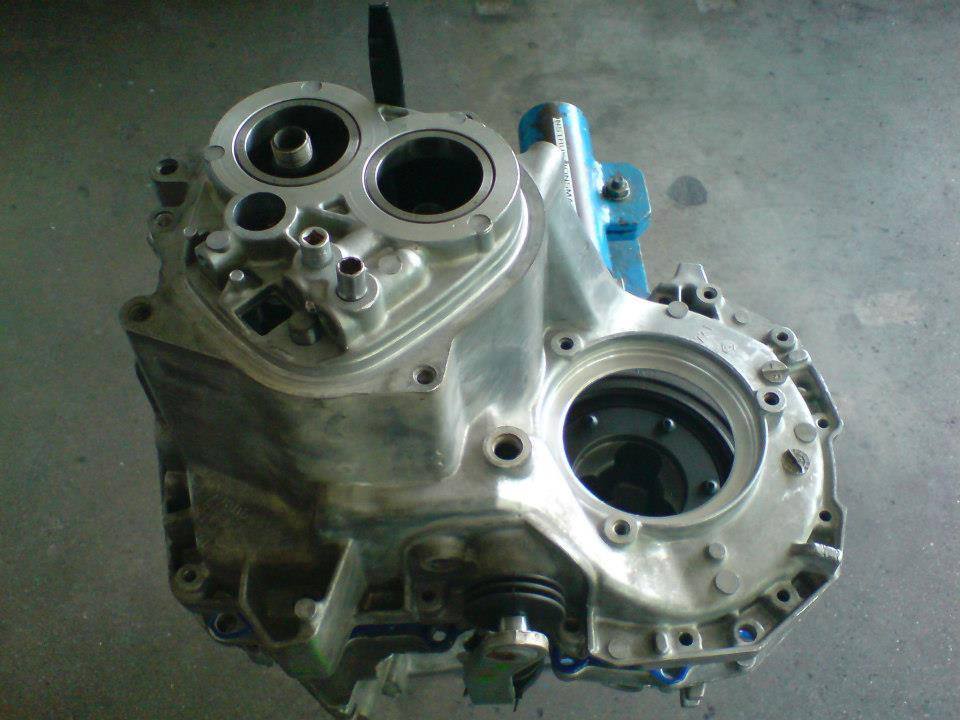
The housing was mounted.
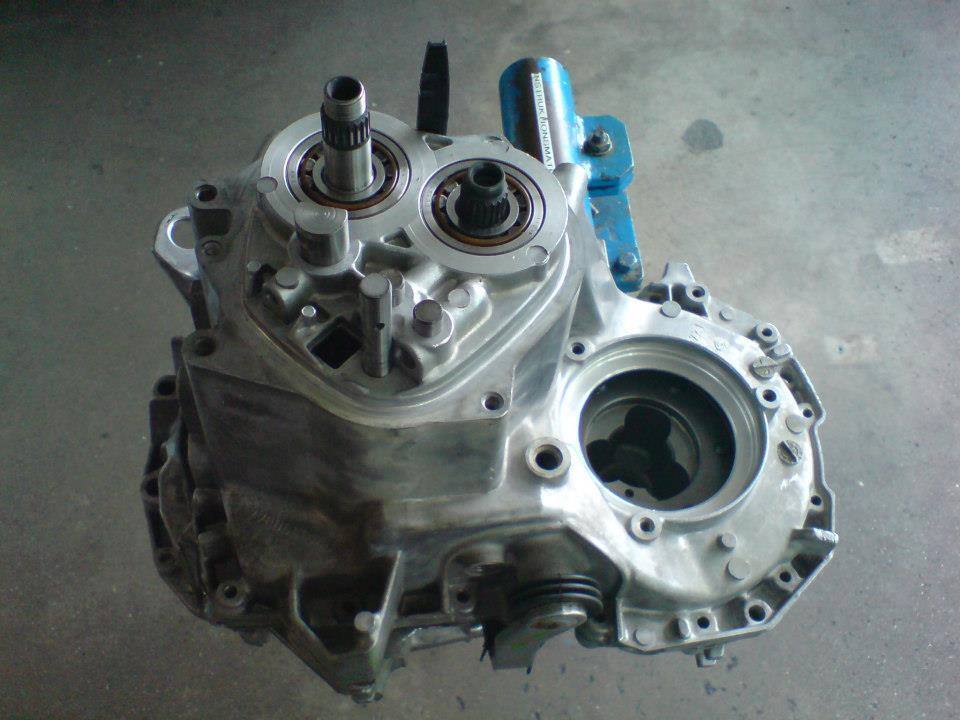
The housing was screwed.
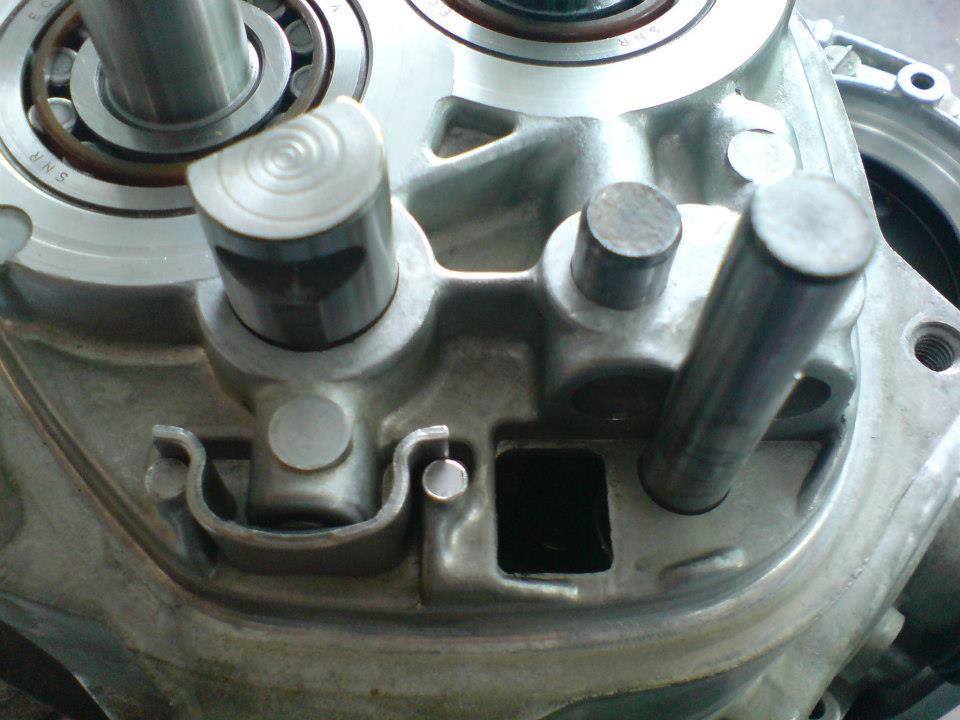
The shift actuator was threaded and the switch controler locked.
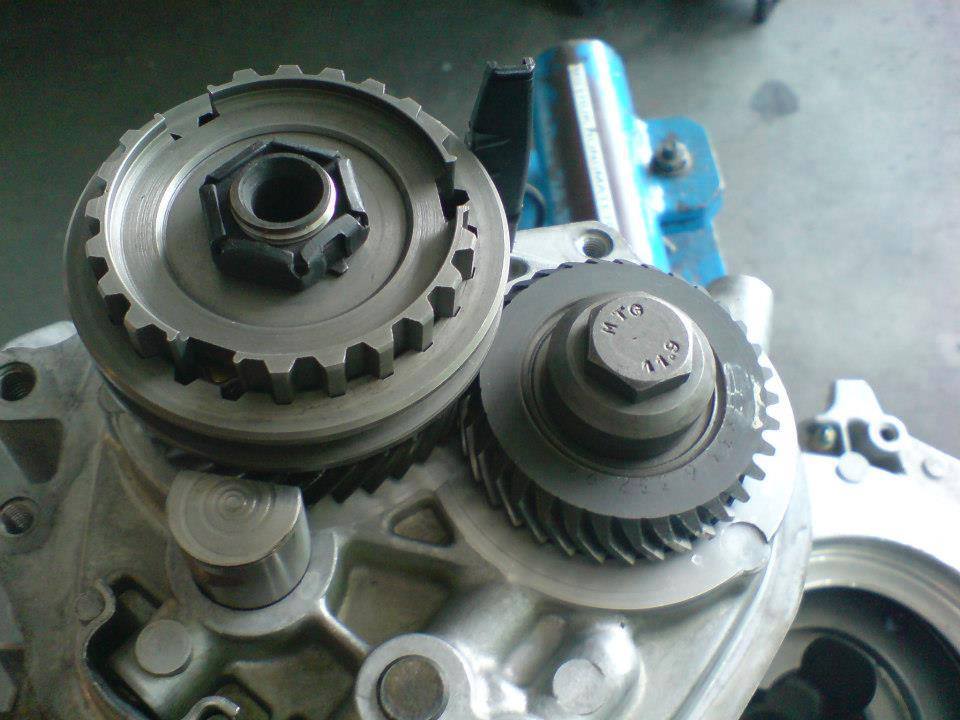
The 5th gear pair was mounted.
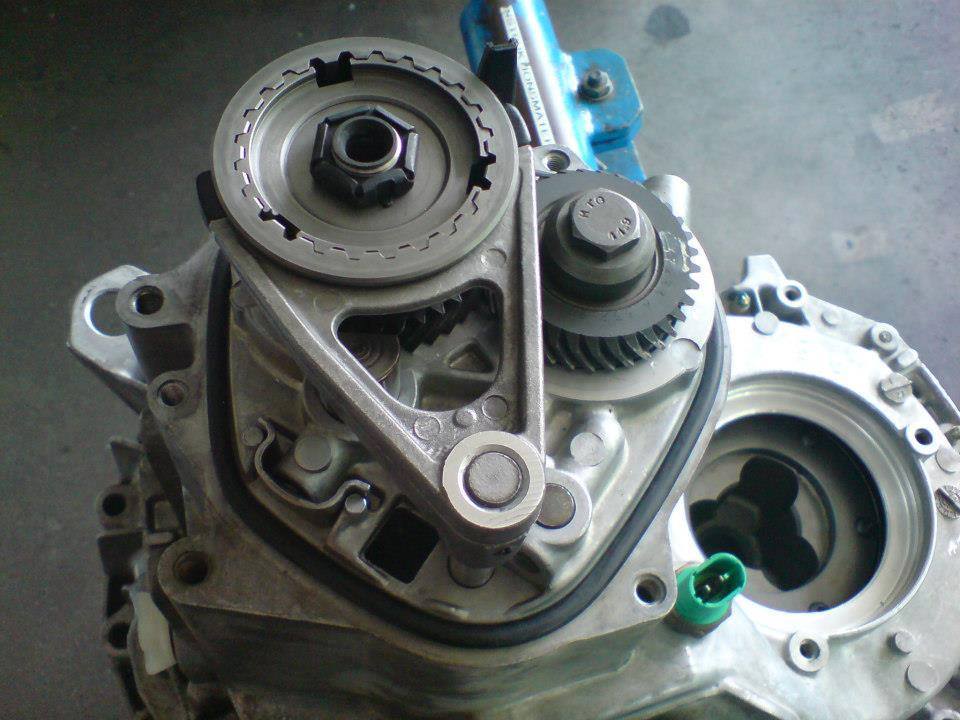
The 5th gear shifter and the rubber seal of the cover have been installed.
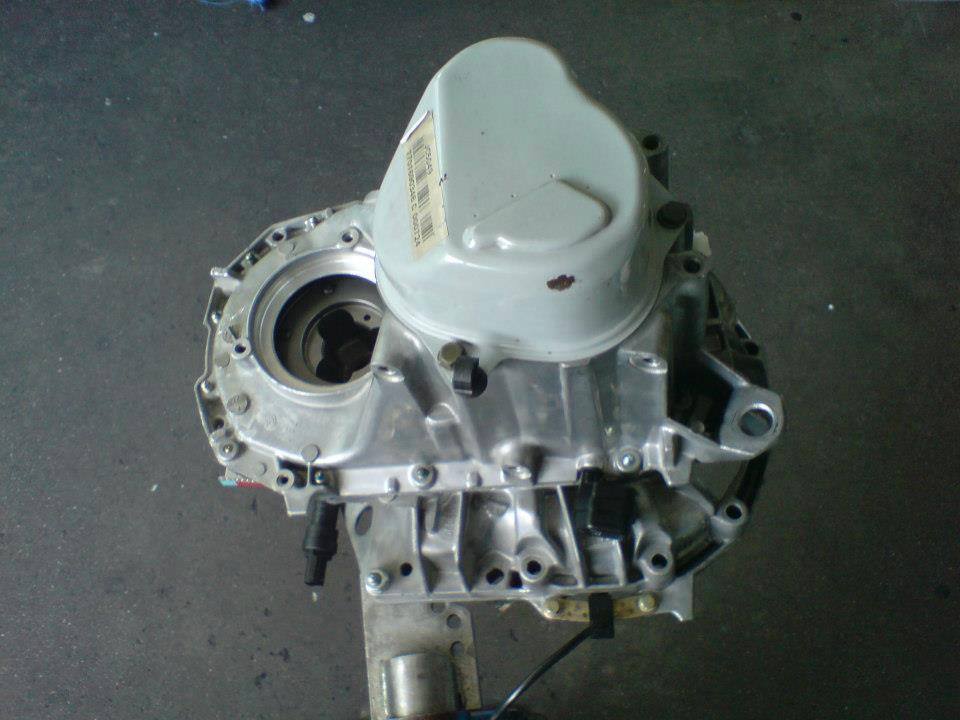
The cover of the 5th gear was mounted.
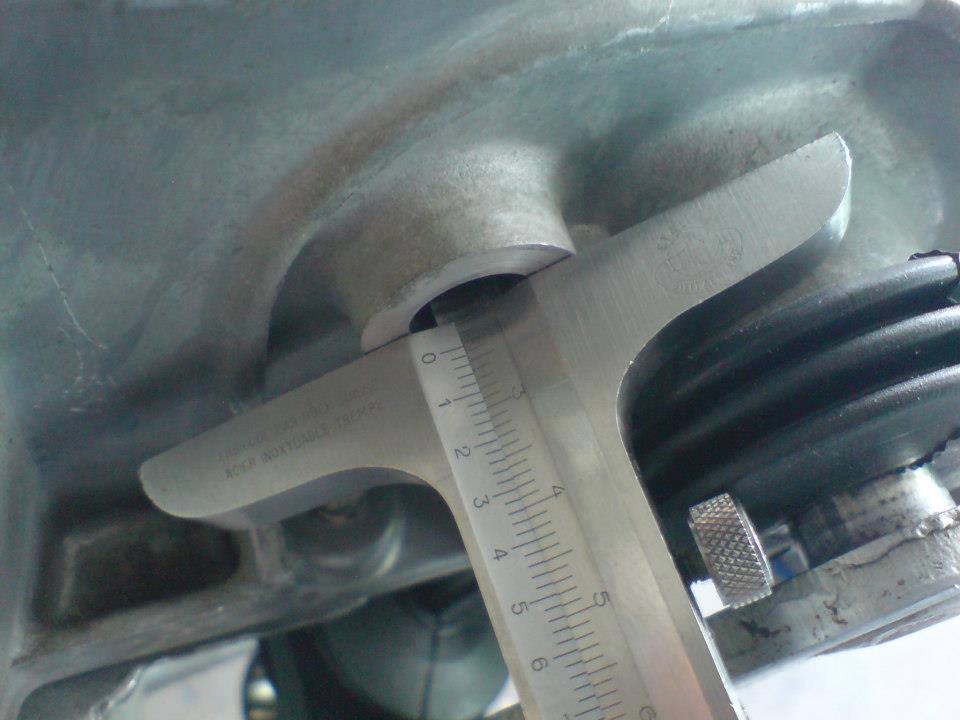
The shift actuator has been set.
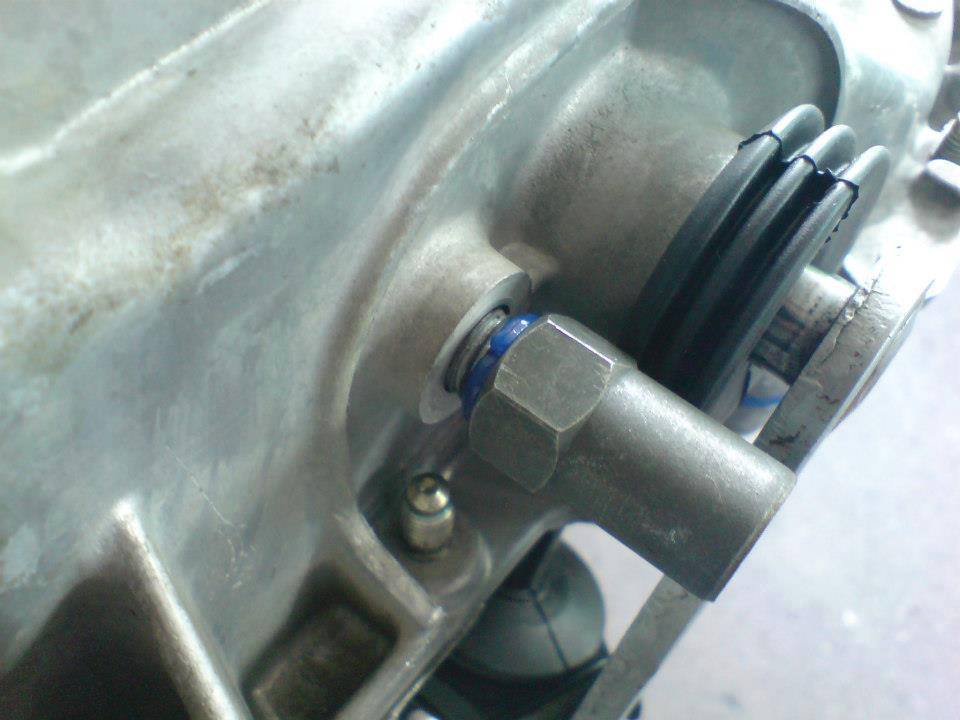
The lock of the shift actuator was screwed.
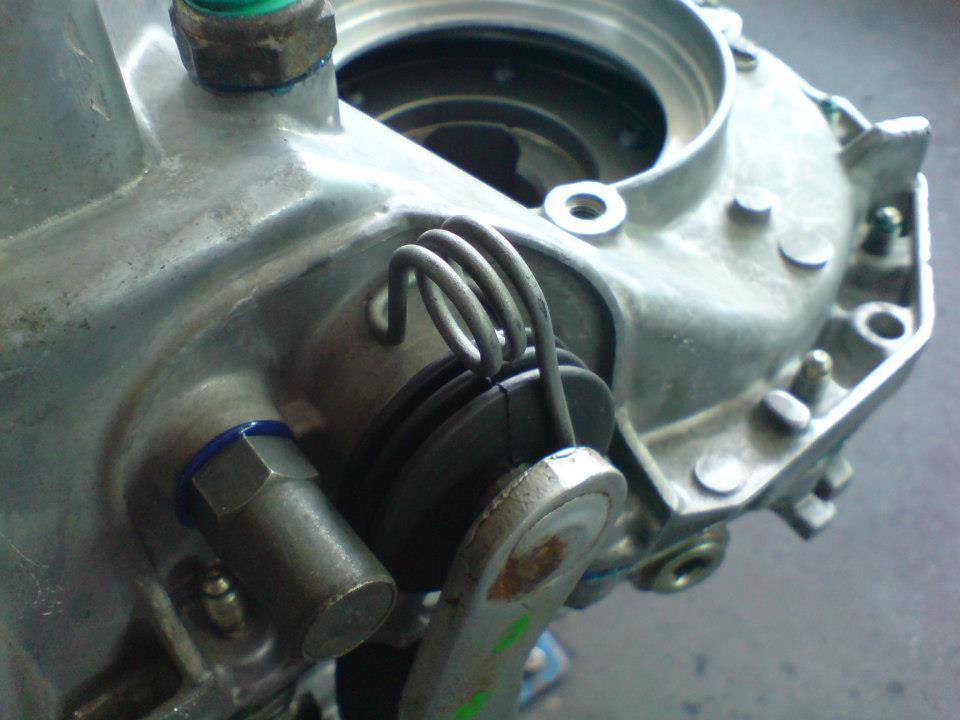
The spring of the shift actuator has been inserted.
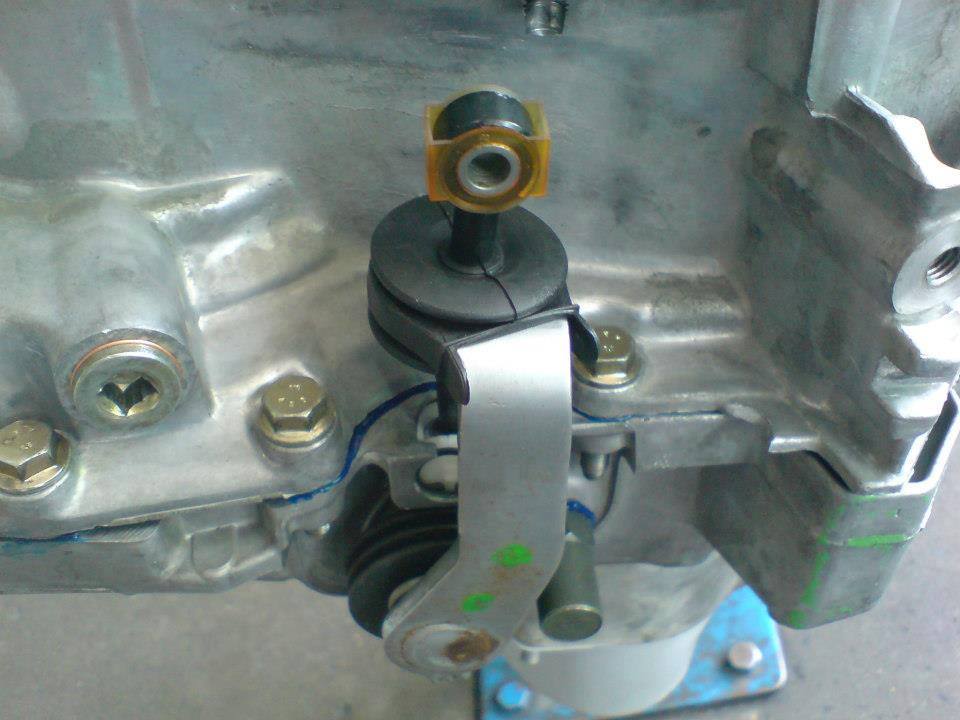
The rubber muffs of the shift actuator have been installed.
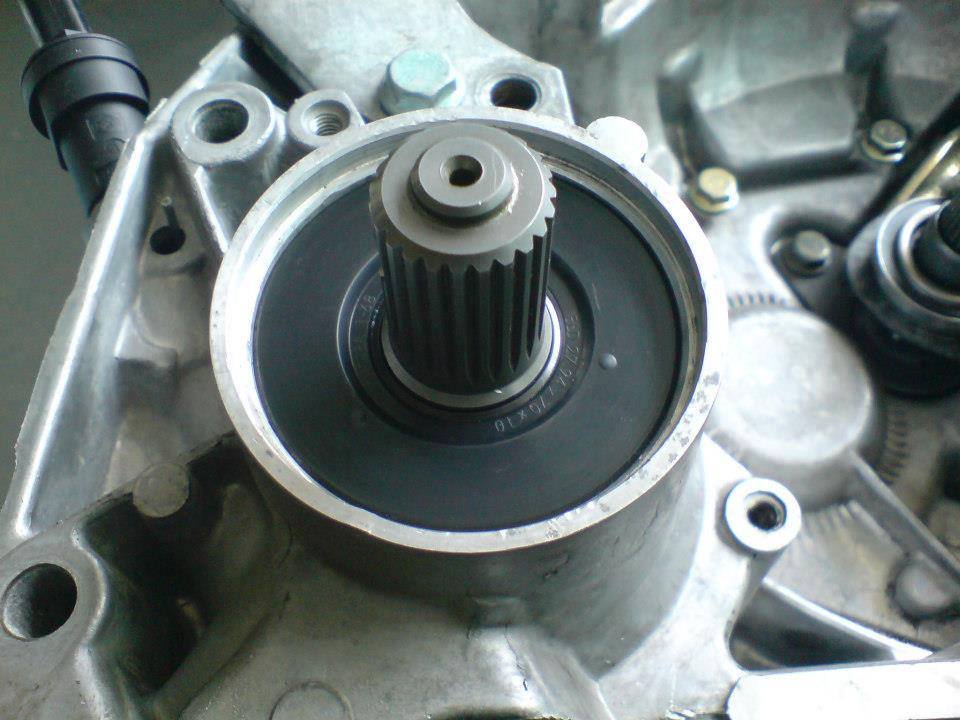
The shaft seals were installed.
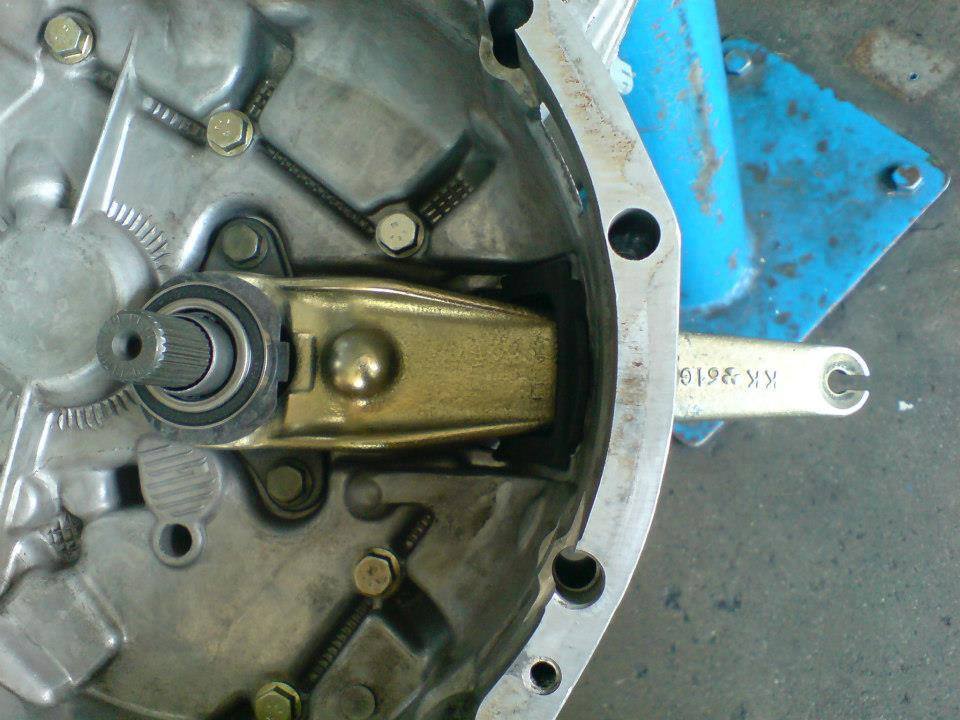
The clutch actuator has been installed.
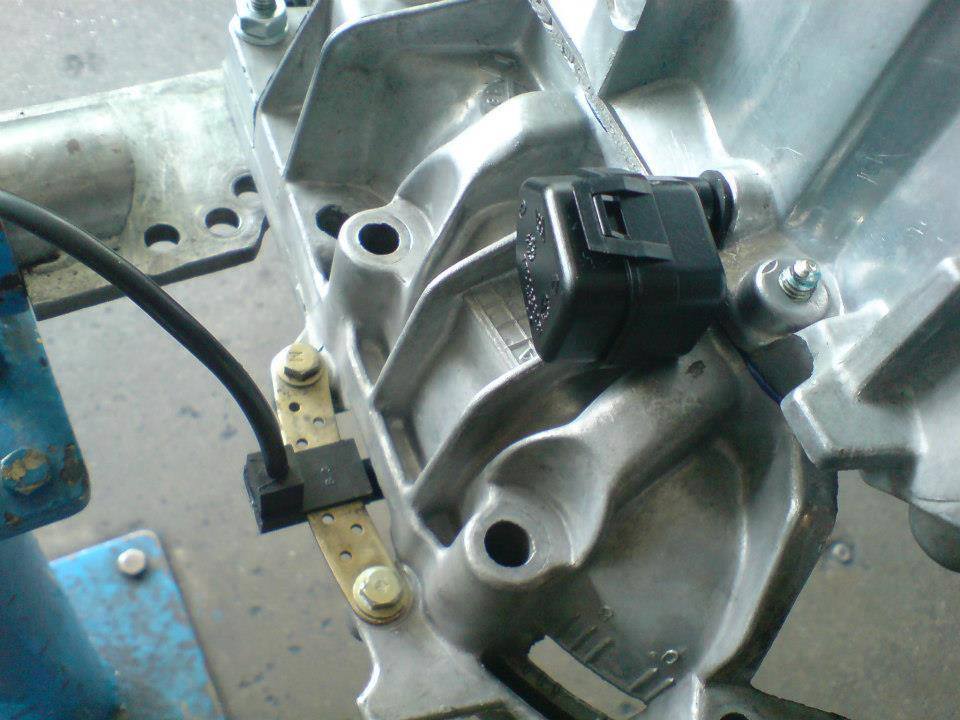
The engine speed sensor, the gearbox vent and reverse switch were installed.
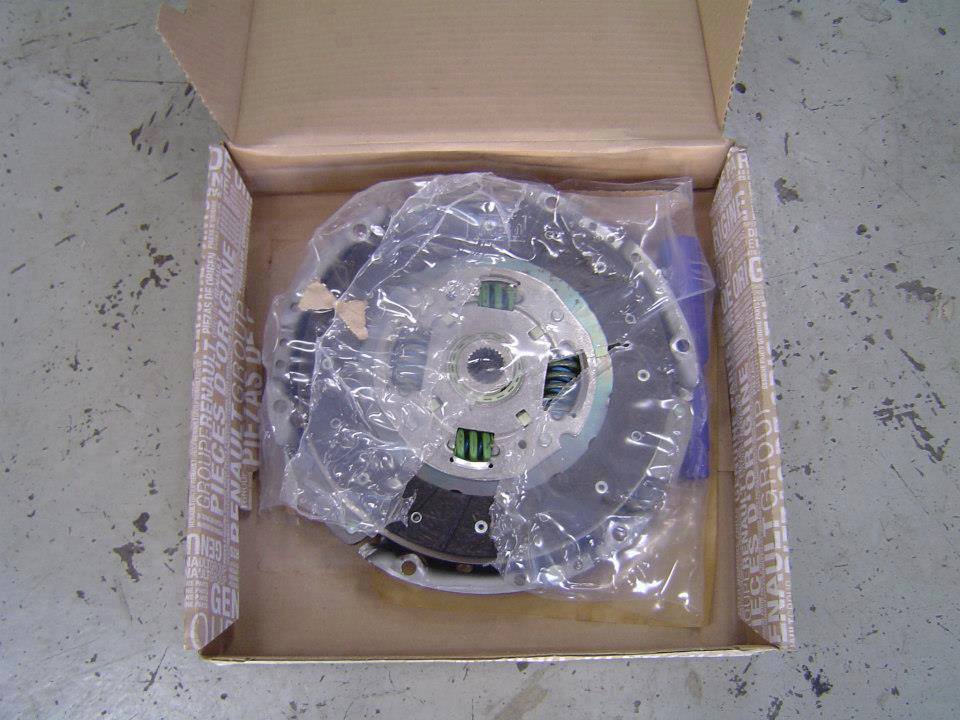
At the same time, a new clutch was installed.
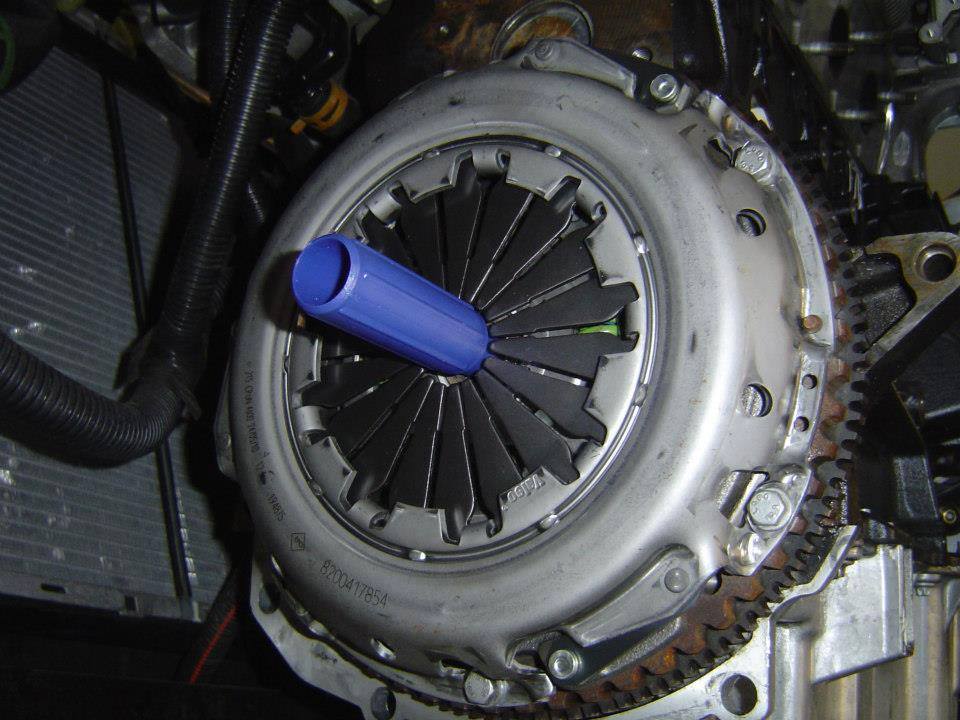
And mounted.
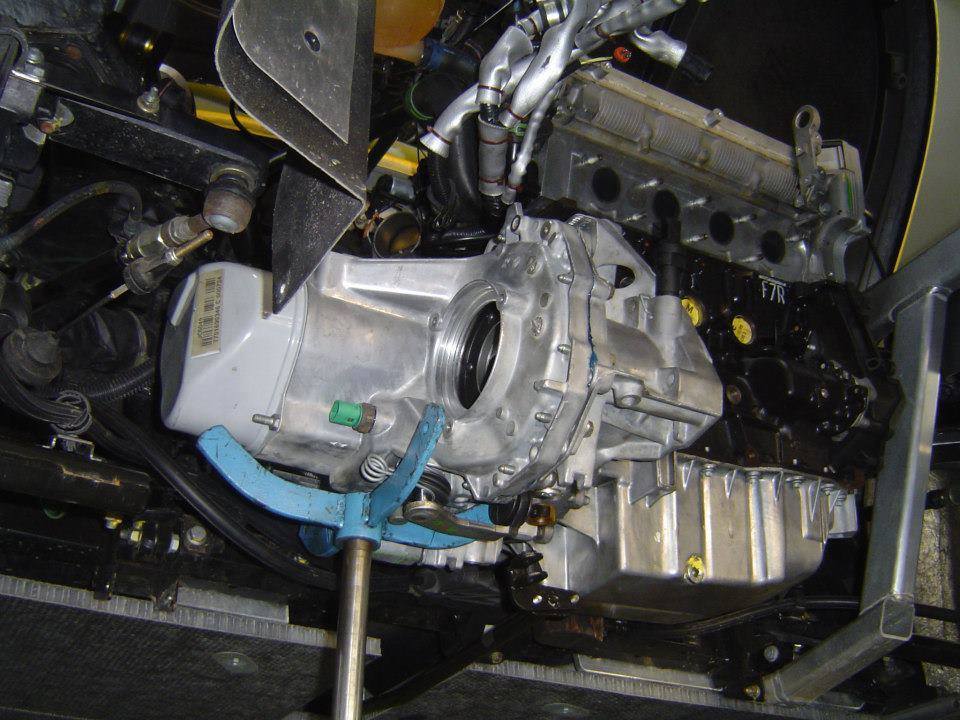
The gearbox was attached again to the engine.
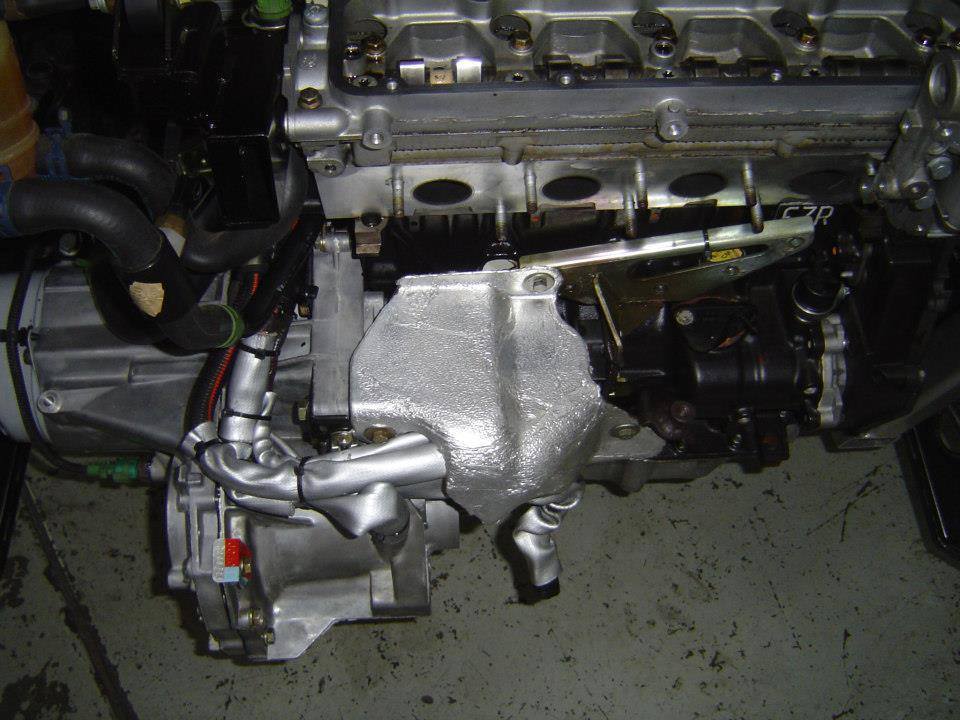
The gearbox was screwed on, the starter and the electrical cables were mounted.
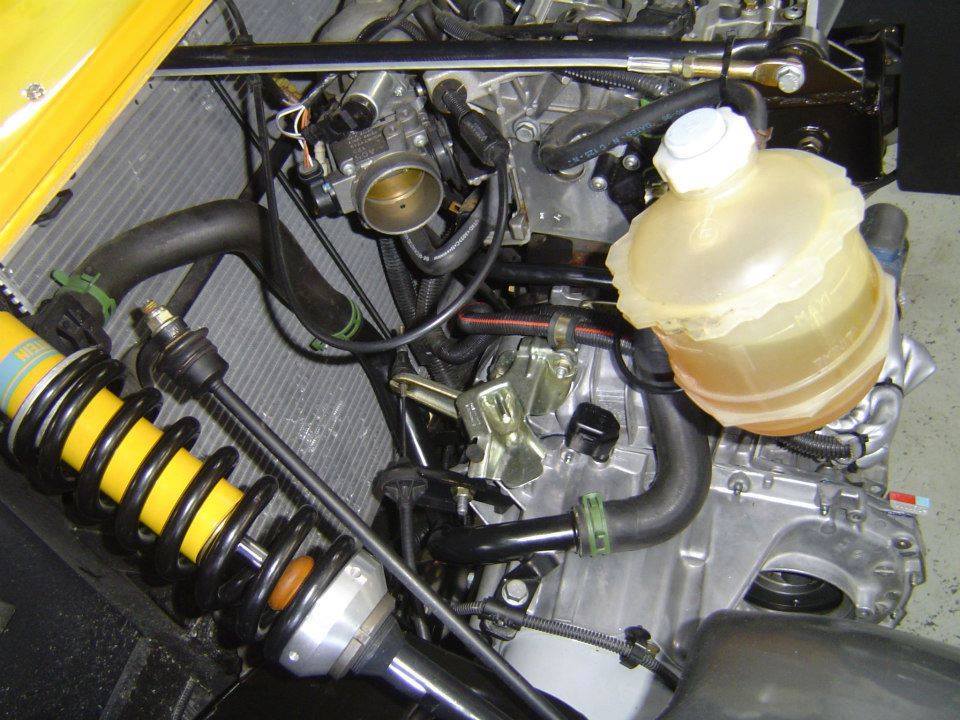
From above everything was screwed on again.
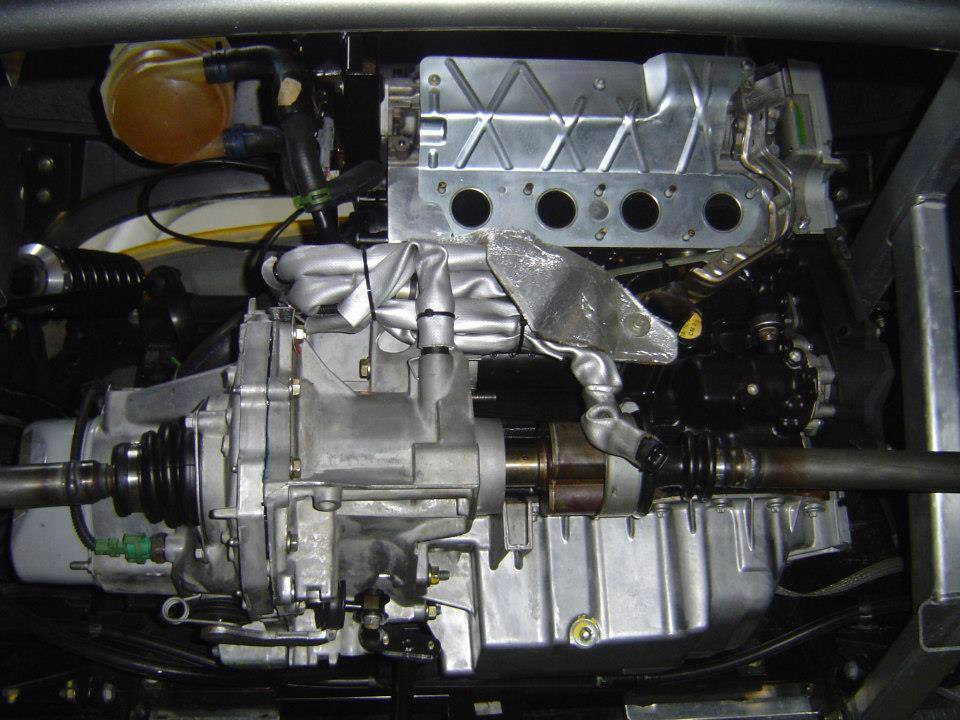
From below also.
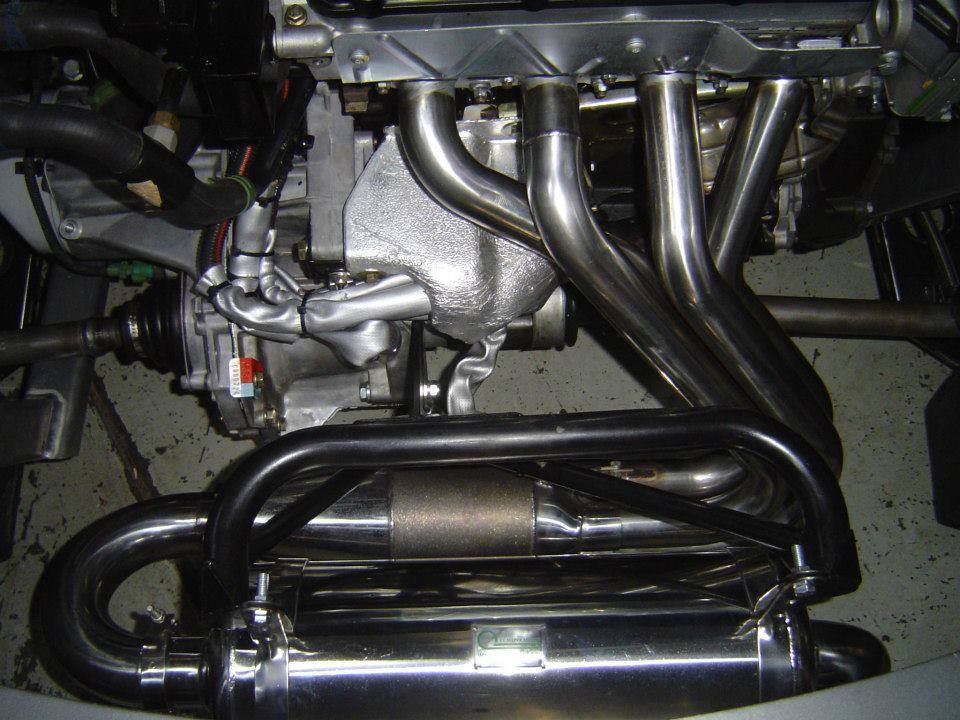
In addition, a new Cup exhaust system was installed. Finished.
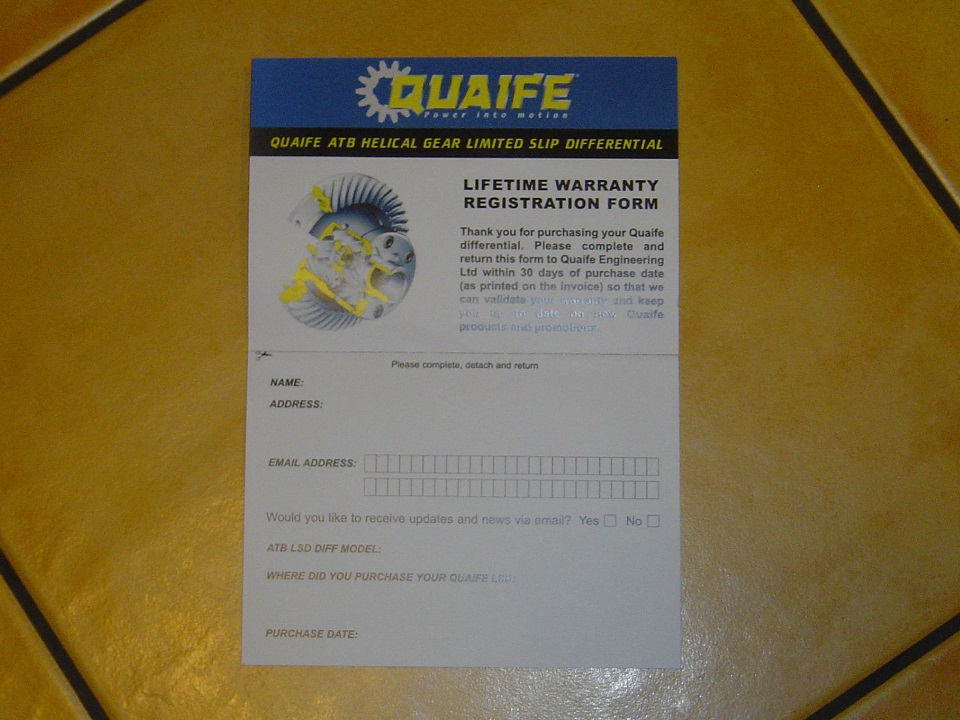
Don’t forget to fill the Quaife lifetime warranty card, and send it to Quaife.
